Halloween is just around the corner, and what better way to celebrate than with a batch of spooky, sweet treats? My kids adore anything Halloween-themed, so these Spooky Mummy Brownies have become a beloved tradition in our home. They’re easy to make, even with little helpers, and the decorating is pure fun.
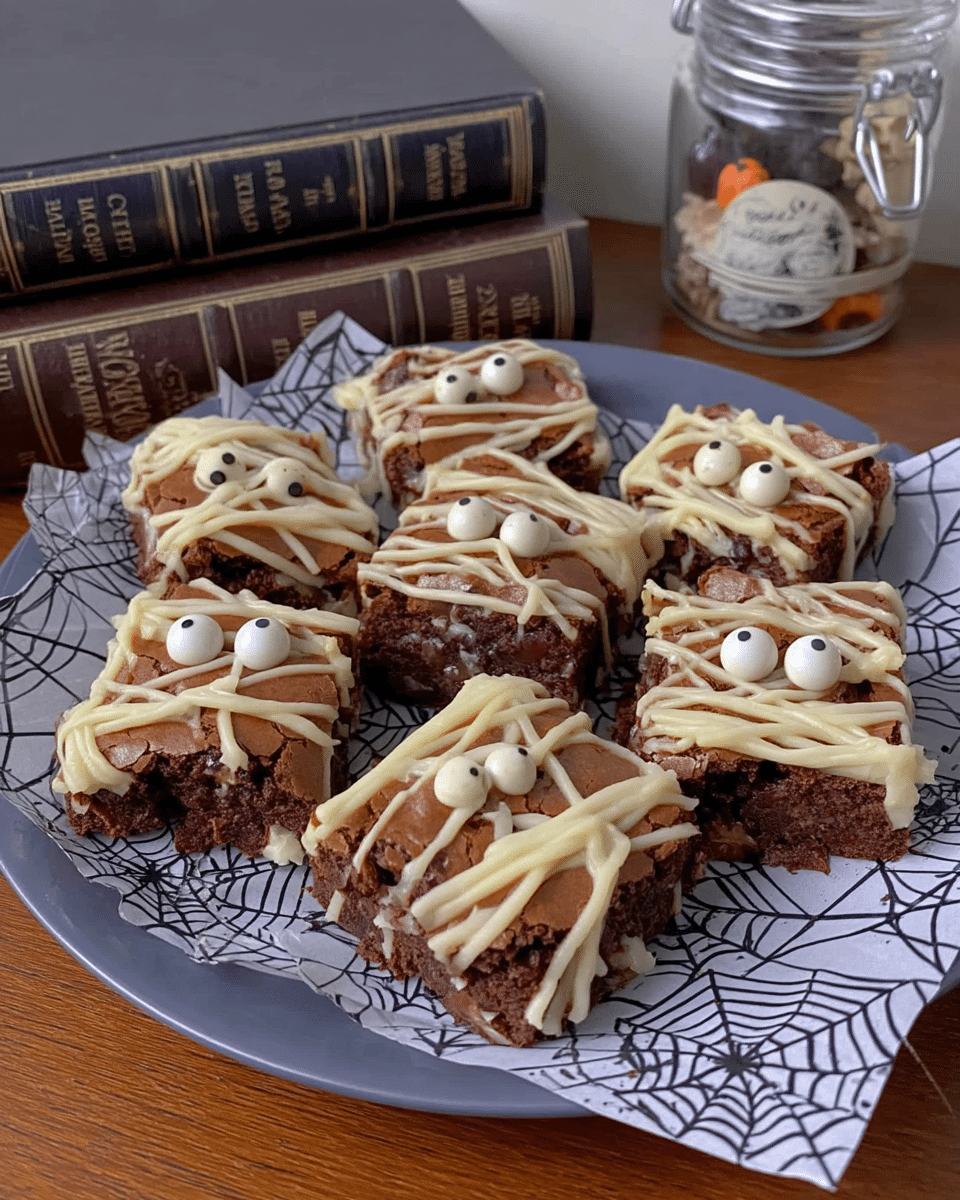
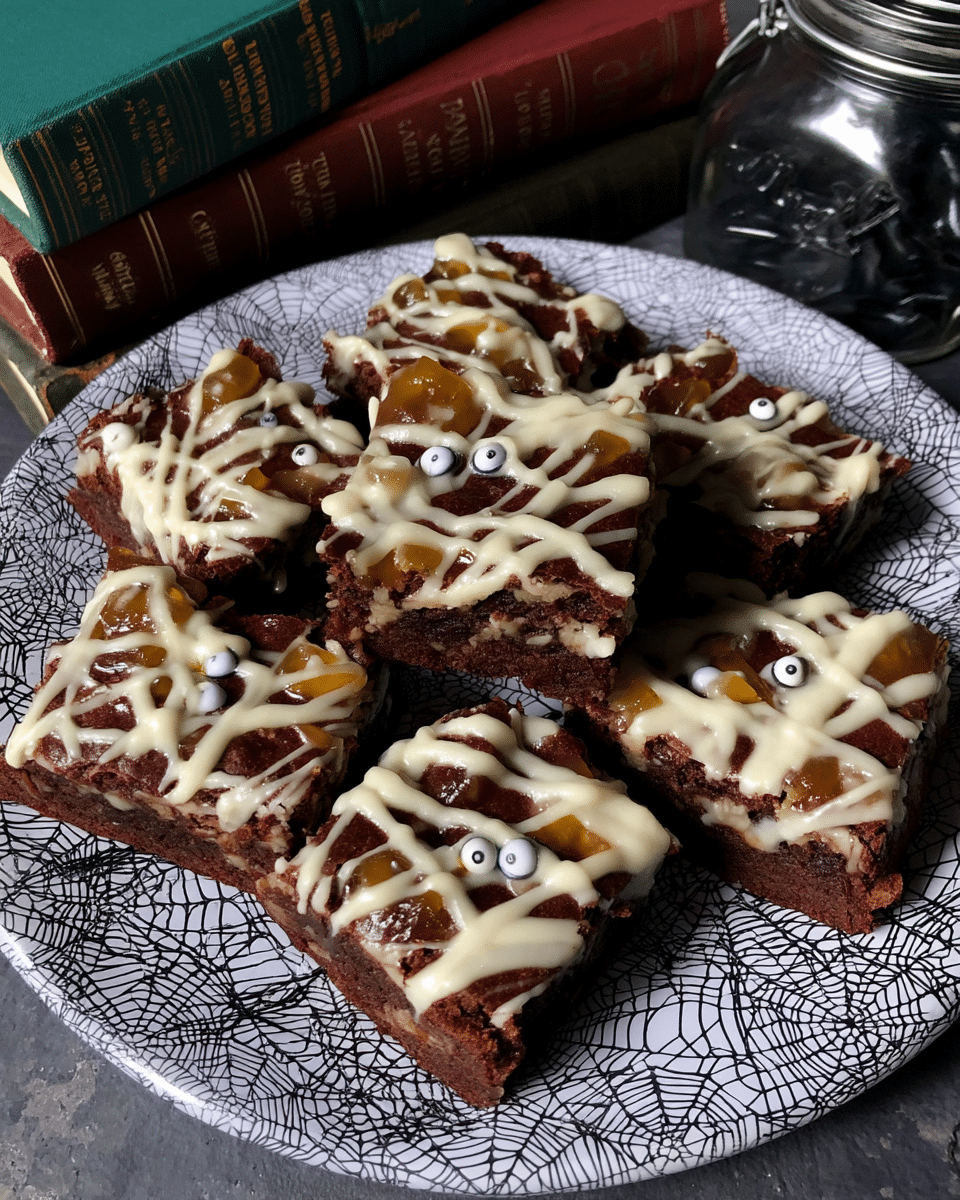
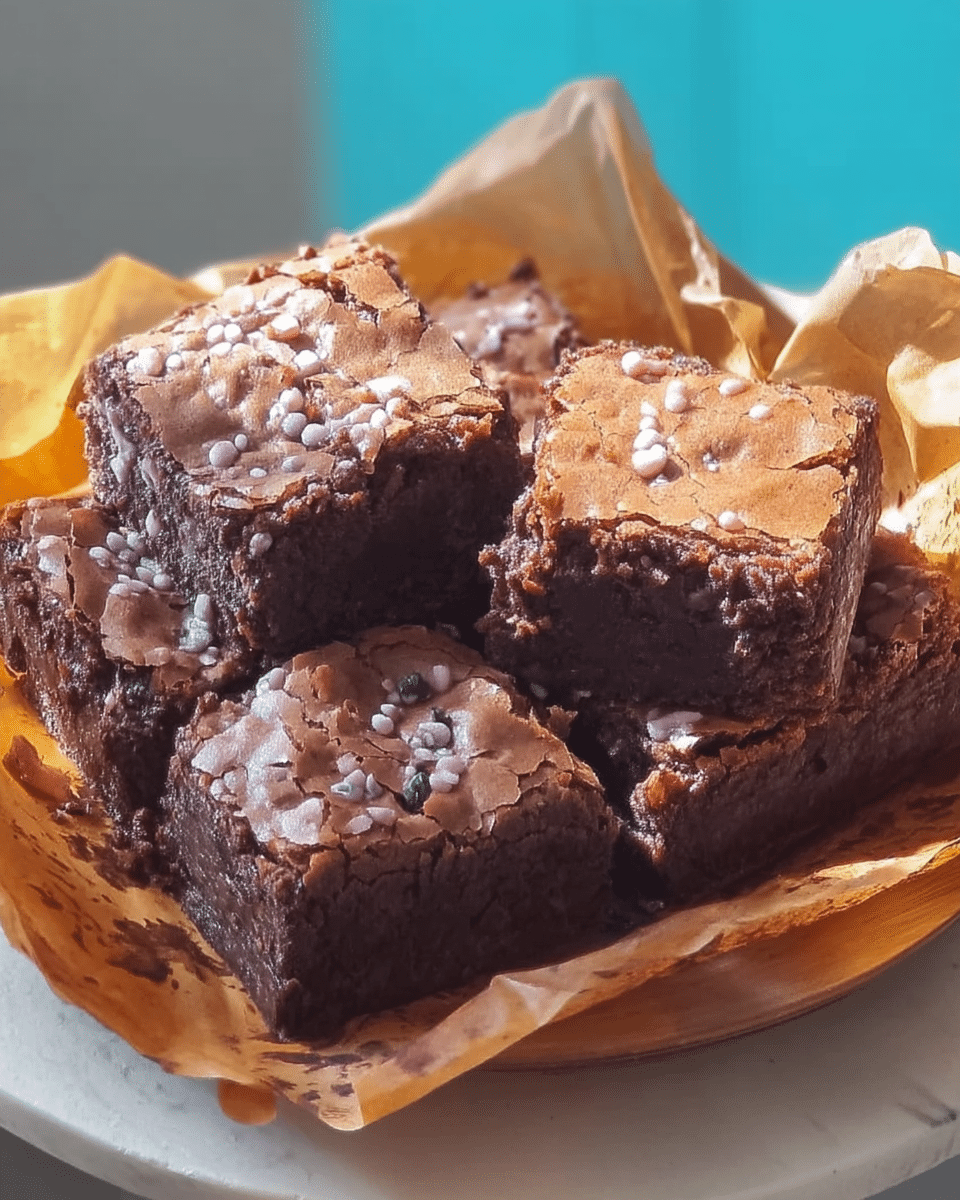
These brownies are rich, fudgy, and wonderfully chocolatey. The mummy decoration is made with simple white chocolate drizzles and candy eyes, which makes them incredibly cute and festive. Get ready for a delightful Halloween baking adventure!
Why You’ll Love It
These Spooky Mummy Brownies aren’t just cute; they’re incredibly delicious too! Here’s what makes them so special:
- Fudgy and Chewy: These brownies have that perfect fudgy texture that melts in your mouth. They’re not cakey or dry, just pure brownie bliss.
- Easy to Make: The brownie batter comes together in minutes, and the decorating is simple enough for even the littlest bakers to help with. They’re perfect for halloween parties!
- Festive and Fun: These Spooky Mummy Brownies are a guaranteed hit at any Halloween gathering. They’re adorable, spooky, and sure to bring smiles to everyone’s faces.
Spooky Mummy Brownies
- Total Time: 50 mins
- Yield: 16 brownies
Description
Indulge in these Spooky Mummy Brownies, perfect for Halloween! Easy to make and decorate, they’re rich, fudgy, and delightfully spooky treats for everyone to enjoy.
Ingredients
- ½ Cup (113g) Butter, unsalted
- ¼ Cup (57g) Semi-Sweet Chocolate Chips
- 2 large Eggs
- 2 teaspoons Vanilla Extract
- ¾ Cup (94g) All-Purpose Flour
- ½ Cup (100g) Granulated Sugar
- ½ Cup (100g) Brown Sugar, packed
- ⅓ Cup (33g) Dutch Process Cocoa Powder
- ¼ teaspoon Salt
- 1 cup (170g) White Chocolate Chips (or white candy melts)
- 32 Candy Eyes
Instructions
- In a large microwave-safe bowl, combine the butter and semi-sweet chocolate chips. Microwave in 30-second intervals, stirring after each interval, until the butter and chocolate are melted and smooth.
- In a separate bowl, whisk together the flour, granulated sugar, brown sugar, cocoa powder, and salt.
- In another bowl, whisk together the eggs and vanilla extract.
- Pour the wet ingredients into the melted chocolate mixture and stir until combined. Gradually add the dry ingredients to the wet ingredients, mixing until just combined. Be careful not to overmix.
- Preheat your oven to 350°F (175°C). Line a 9×9 inch baking pan with parchment paper, leaving an overhang on the sides to lift the brownies out later. Pour the batter into the prepared pan and spread evenly.
- Bake for 30-35 minutes, or until a toothpick inserted into the center comes out with moist crumbs attached.
- Let the brownies cool in the pan for 5 minutes before lifting them out using the parchment paper overhang. Transfer the brownies to a wire rack to cool completely.
- Once the brownies are completely cool, cut them into 16 squares. Melt the white chocolate chips in a microwave-safe bowl in 30-second intervals, stirring after each interval, until smooth.
- Transfer the melted white chocolate to a piping bag or a zip-top bag with a small corner snipped off. Drizzle the white chocolate back and forth over each brownie square to create the mummy bandages.
- Place two candy eyes on each brownie, gently pressing them into the white chocolate.
- Let the white chocolate set completely before serving or storing.
Notes
For best results, use good quality chocolate. Don’t overbake the brownies, or they will be dry. Let them cool completely before frosting for easy decorating. Store in an airtight container at room temperature for up to 3 days.
- Prep Time: 15 mins
- Cook Time: 35 mins
- Category: Dessert
- Method: Baking
- Cuisine: American
Ingredient Lowdown
Let’s gather our ingredients! These brownies are surprisingly easy to make with everyday pantry staples. Here’s what you’ll need:
- For the Brownies:
- ½ Cup (113g) Butter, unsalted
- ¼ Cup (57g) Semi-Sweet Chocolate Chips
- 2 large Eggs
- 2 teaspoons Vanilla Extract
- ¾ Cup (94g) All-Purpose Flour
- ½ Cup (100g) Granulated Sugar
- ½ Cup (100g) Brown Sugar, packed
- ⅓ Cup (33g) Dutch Process Cocoa Powder
- ¼ teaspoon Salt
- For the Mummy Decoration:
- 1 cup (170g) White Chocolate Chips (or white candy melts)
- 32 Candy Eyes
Step-by-Step Instructions
Step 1: Melt the Chocolate and Butter
In a large microwave-safe bowl, combine the butter and semi-sweet chocolate chips. Microwave in 30-second intervals, stirring after each interval, until the butter and chocolate are melted and smooth.
Step 2: Combine Dry Ingredients
In a separate bowl, whisk together the flour, granulated sugar, brown sugar, cocoa powder, and salt.
Step 3: Combine Wet Ingredients
In another bowl, whisk together the eggs and vanilla extract.
Step 4: Combine Wet and Dry Ingredients
Pour the wet ingredients into the melted chocolate mixture and stir until combined. Gradually add the dry ingredients to the wet ingredients, mixing until just combined. Be careful not to overmix.
Step 5: Bake the Brownies
Preheat your oven to 350°F (175°C). Line a 9×9 inch baking pan with parchment paper, leaving an overhang on the sides to lift the brownies out later. Pour the batter into the prepared pan and spread evenly.
Bake for 30-35 minutes, or until a toothpick inserted into the center comes out with moist crumbs attached.
Step 6: Cool the Brownies
Let the brownies cool in the pan for 5 minutes before lifting them out using the parchment paper overhang. Transfer the brownies to a wire rack to cool completely.
Step 7: Cut and Decorate
Once the brownies are completely cool, cut them into 16 squares. Melt the white chocolate chips in a microwave-safe bowl in 30-second intervals, stirring after each interval, until smooth.
Step 8: Create the Mummy Wrap
Transfer the melted white chocolate to a piping bag or a zip-top bag with a small corner snipped off. Drizzle the white chocolate back and forth over each brownie square to create the mummy bandages.
Step 9: Add the Eyes
Place two candy eyes on each brownie, gently pressing them into the white chocolate.
Step 10: Set the Chocolate
Let the white chocolate set completely before serving or storing.
Better-Than-Grandma Tips
- Melting Chocolate: Be careful not to overheat the chocolate when melting it in the microwave. Overheating can cause it to seize up. Melt in short bursts, stirring in between until smooth.
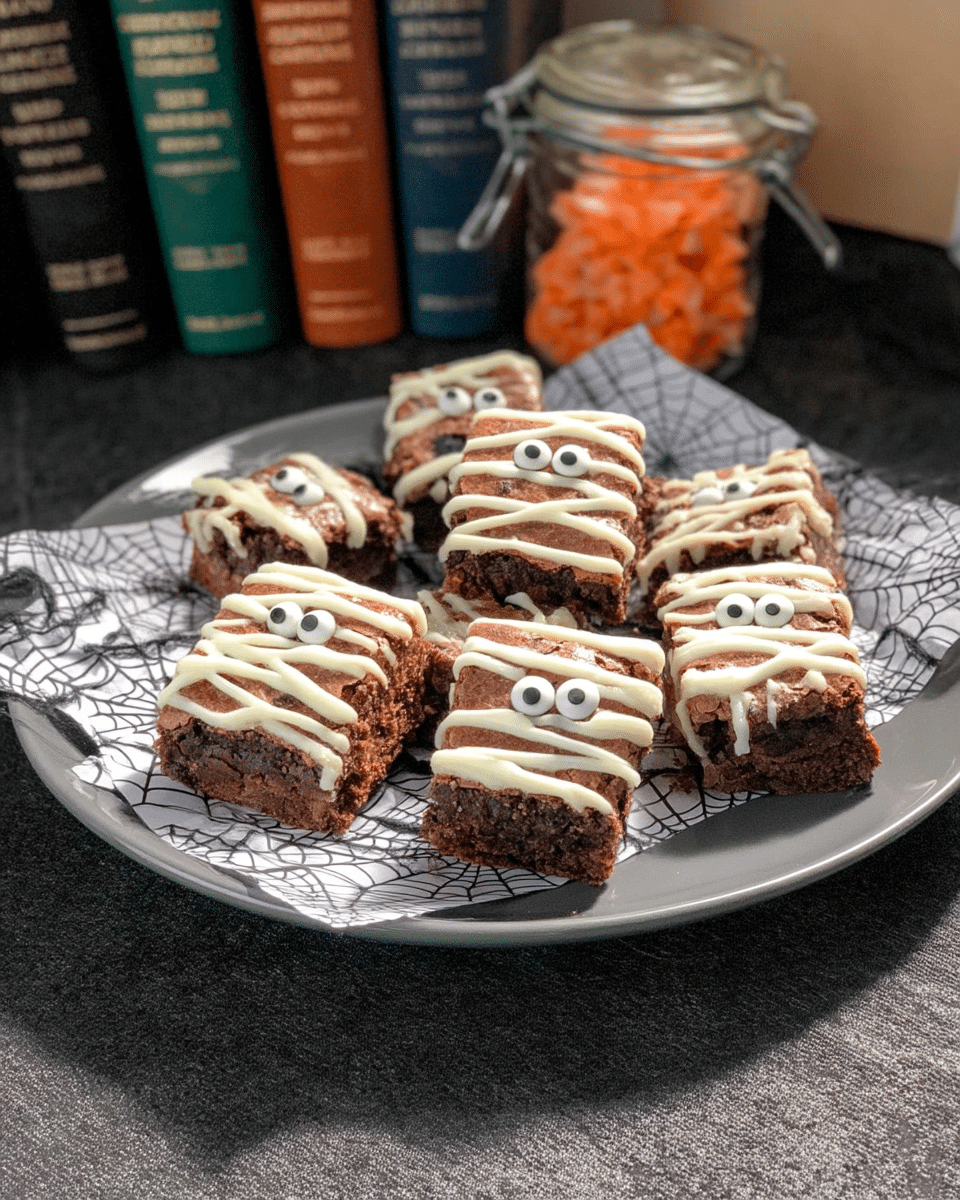
- Drizzling Chocolate: For finer drizzling, use a piping bag or a zip-top bag with a tiny corner snipped off. This will give you more control and create those classic mummy bandages. For more tips like these, see our guide on making perfect brownies.
- Cooling the Brownies: Let the brownies cool completely before cutting and decorating. Warm brownies are more delicate and prone to crumbling.
Switch-Ups & Swaps
Want to get creative with these Spooky Mummy Brownies? Here are some fun variations to try:
- Different Chocolate Chips: Use milk chocolate, dark chocolate, or even white chocolate chips in the brownie batter for different flavor profiles.
- Nuts: Add chopped walnuts, pecans, or almonds to the brownie batter for some added crunch. For some fantastic nut recipes, try our nut-based delights.
- Swirls: Swirl in some peanut butter or Nutella before baking for an extra layer of flavor.
- Spice It Up: Add a pinch of cinnamon or cayenne pepper to the batter for a warm and cozy touch.
How long do these brownies last, and what’s the best way to store them?
These Spooky Mummy Brownies are best enjoyed within 3-4 days of baking. Storing them in an airtight container at room temperature will keep them fresh and fudgy. You can also freeze them for longer storage, up to 2 months. Just thaw overnight in the refrigerator before serving.
Can I use different types of chocolate chips?
Absolutely! While the recipe calls for semi-sweet chocolate chips, you can easily swap them out for milk chocolate or even dark chocolate. If you prefer a richer brownie, dark chocolate is an excellent choice. Just remember that using dark chocolate will make the brownies less sweet, so you may want to add a touch more sugar if you prefer a sweeter treat.
How do I get the mummy bandages to look so perfect?
The key to getting that classic mummy look is all in the drizzling technique. Using a piping bag or a zip-top bag with a small corner snipped off, drizzle the melted white chocolate back and forth across the brownie, starting at the top and working your way down. Overlap the lines slightly to create the wrapped bandage effect. Don’t worry about being too precise; the messy look adds to the mummy charm!
Can I use other decorations besides candy eyes?
Definitely! While the recipe includes candy eyes for a classic mummy look, feel free to get creative with other decorations. You could add sprinkles, edible glitter, or even use different colored icing to create unique mummy designs. Let your imagination run wild!
How to Serve
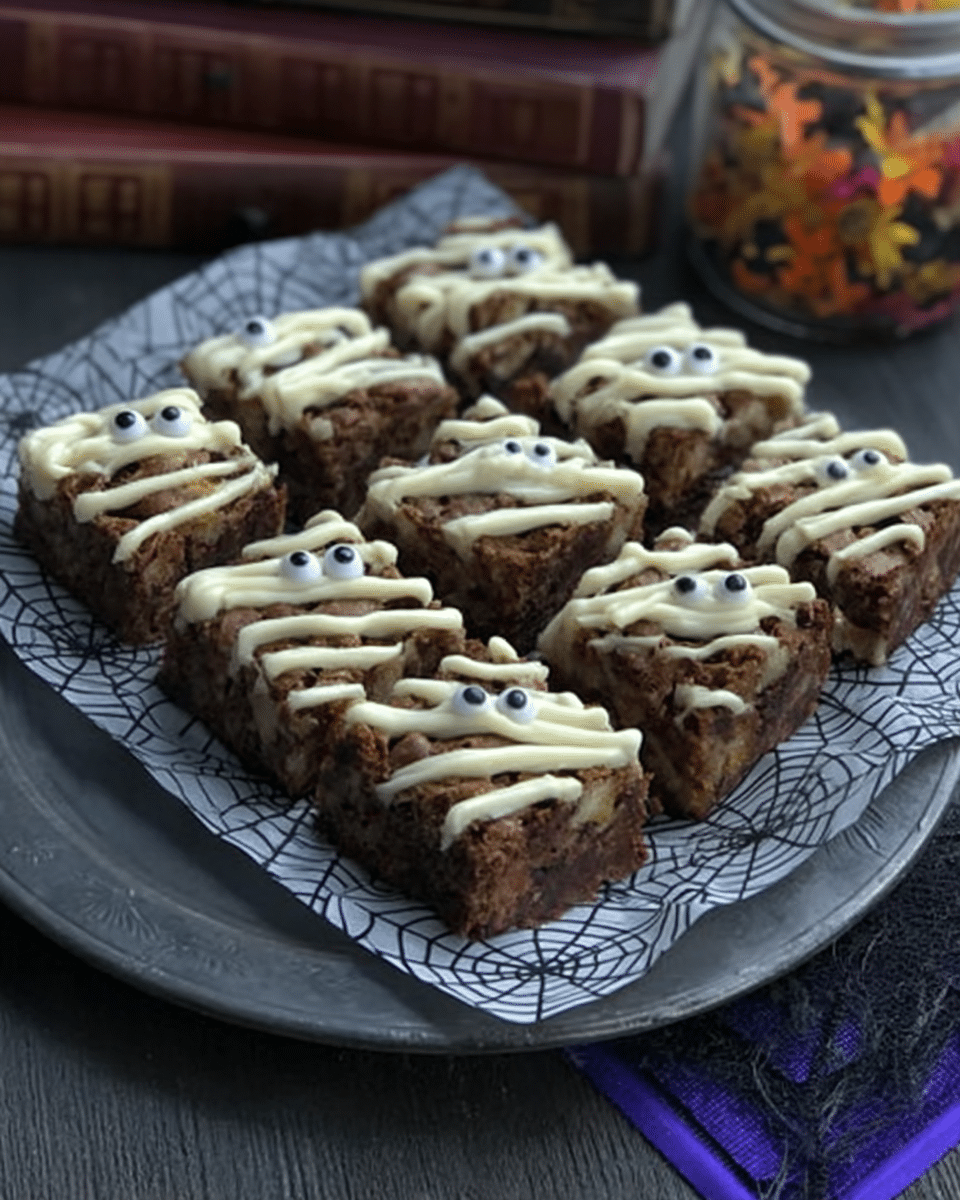
These Spooky Mummy Brownies are perfect for Halloween parties, classroom treats, or simply a fun family dessert. Serve them on a festive platter with a scoop of vanilla ice cream or a dollop of whipped cream. You can also pair them with a glass of cold milk or a warm cup of hot cocoa. For another fun holiday treat try out our Candy Corn Cookies.
These brownies also make great gifts! Package them in individual cellophane bags tied with a Halloween-themed ribbon for a cute and spooky present.
That’s a Wrap
There you have it! Spooky Mummy Brownies, a fun and festive treat that’s sure to bring smiles to faces young and old. They are a perfect way to add some Halloween spirit to your baking. These brownies are rich, fudgy, and oh-so-delicious, they disappear fast! So be sure to grab one (or two!) before they vanish into thin air! For more delightful dessert inspiration, check out our Desserts category. Don’t forget to share your spooky creations with me! Find me on Facebook, Pinterest, and Instagram.



1 thought on “Spooky Mummy Brownies”