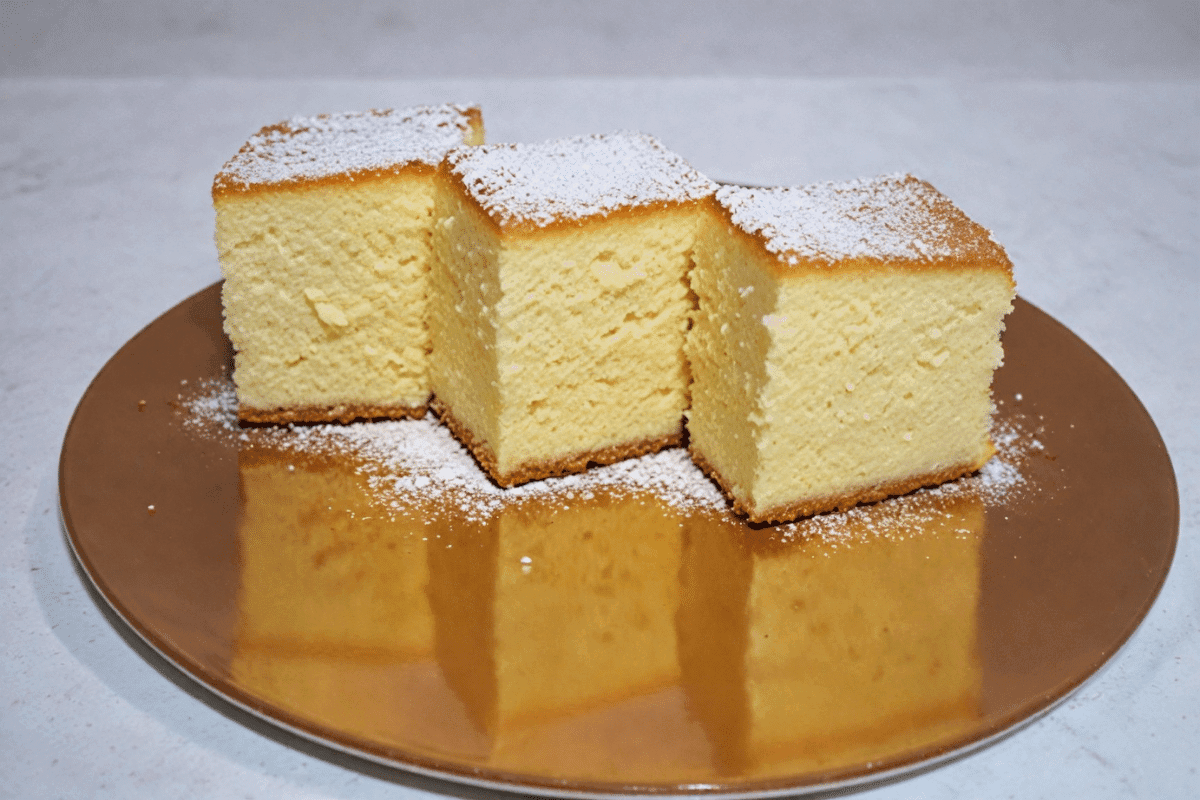
Bishop Cake is a timeless dessert with roots in Nordic tradition, cherished for generations. This indulgent yet straightforward cake offers a perfect blend of buttery richness, moist texture, and subtle citrus notes. It’s not just a dessert but a piece of cultural heritage, loved during religious celebrations and family gatherings alike.
The beauty of Bishop Cake lies in its simplicity and versatility. Whether you’re serving it plain with tea or enhancing it with whipped cream and berries, the cake promises to deliver on flavor every time. With basic pantry ingredients, home bakers can effortlessly recreate this historic recipe. It’s ideal for holidays, thanks to its long shelf life and flavors that deepen over time.
Join us as we uncover the story behind Bishop Cake, its historical roots, and a detailed step-by-step guide to making it. Whether you are a seasoned baker or a beginner, this cake will quickly become a favorite in your recipe repertoire!
The Origins and Significance of Bishop Cake
Bishop Cake is not merely a dessert but a symbol of tradition. Originating from the Nordic countries, this cake was closely associated with the clergy, often served during religious events and gatherings. Its name, “Bishop Cake,” reflects these ecclesiastical roots, with some suggesting it may have been a favorite treat of bishops and priests.
Through centuries, this cake has remained a key part of religious and community celebrations. In fact, folklore claims that it was prepared with divine blessing, adding to its charm during church functions. From diocesan delights to community feasts, it has evolved as a cherished dessert, embodying the simplicity of Nordic culinary heritage.
The preparation methods for Bishop Cake have been passed down through generations, each adding a personal twist. Traditionally, the cake was baked with a dense sponge interior, flavored with hints of citrus or almond extract, and finished with either a glaze or powdered sugar dusting. Some versions include rum-soaked layers, paying homage to old-world baking techniques that emphasized rich flavors and textures.
A Cake with Staying Power
One of the reasons this cake stands the test of time is its long shelf life. Unlike many cakes that stale quickly, Bishop Cake develops a deeper, more intense flavor over time. This characteristic made it especially popular during holidays and long church events, where it could be prepared days in advance and still taste delicious.
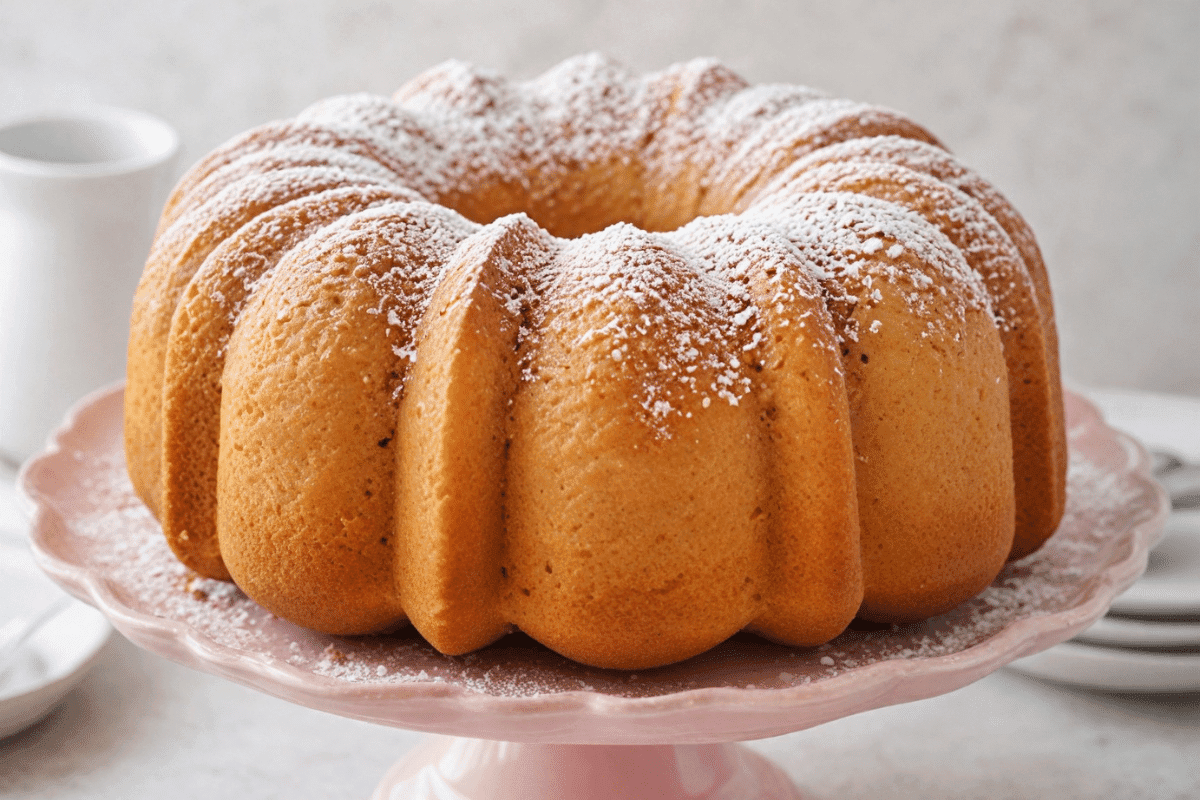
In recent years, the cake has crossed borders and found a place in many kitchens outside Nordic countries. Today, it is often compared to pound cakes or bundt cakes, but its defining feature—a slightly chewy crust with a moist, dense crumb—sets it apart. Unlike sponge cakes, which are light and airy, Bishop Cake embraces a rustic appeal that feels both comforting and indulgent.
Whether you’re enjoying it as a standalone dessert or adding modern twists like chocolate drizzle or whipped cream, the heart of this cake lies in its simplicity.
Ingredients Overview: Crafting the Perfect Bishop Cake
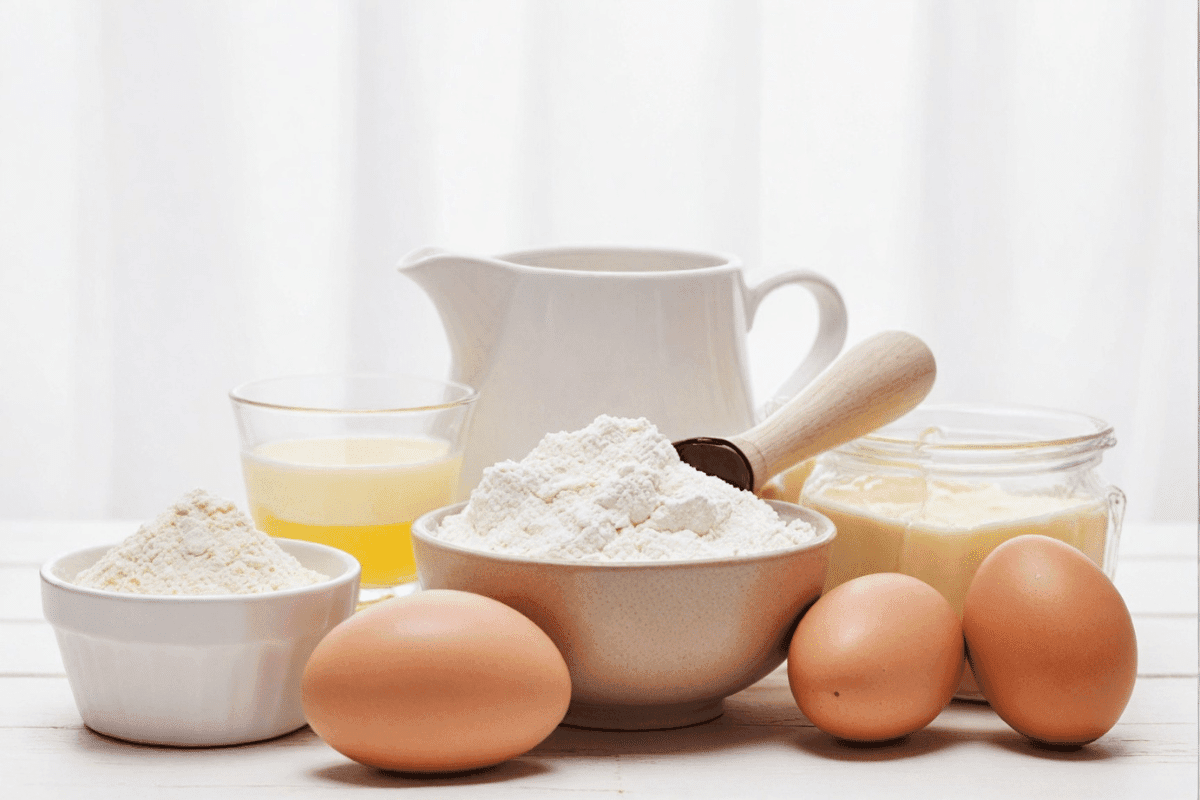
Bishop Cake uses basic ingredients, but each plays a crucial role in achieving the cake’s signature taste and texture. Below is a detailed list of ingredients along with optional substitutions to suit various preferences, such as gluten-free, dairy-free, or vegan adaptations.
| Ingredient | Quantity | Purpose | Substitution Options |
|---|---|---|---|
| All-purpose flour | 2 cups | Provides structure to the cake. | Use gluten-free flour blend for a gluten-free version. |
| Unsalted butter | 1 cup | Adds richness and creates a moist texture. | Substitute with vegan butter for dairy-free needs. |
| Granulated sugar | 1 cup | Sweetens the cake and helps create a tender crumb. | Use coconut sugar or a sugar substitute like erythritol. |
| Eggs | 3 large | Bind the ingredients and give the cake structure. | Replace with flax eggs (1 tbsp flaxseed + 3 tbsp water = 1 egg). |
| Milk | ½ cup | Adds moisture to the batter and creates a smoother texture. | Use almond milk or oat milk for a dairy-free option. |
| Baking powder | 2 teaspoons | Helps the cake rise and creates a light crumb. | Ensure baking powder is gluten-free, if needed. |
| Salt | ¼ teaspoon | Balances the sweetness and enhances other flavors. | Use sea salt or pink Himalayan salt. |
| Vanilla extract | 1 teaspoon | Enhances the overall flavor of the cake. | Swap with almond extract for a nuttier taste. |
| Lemon zest and juice | 2 tablespoons | Adds brightness and balances the richness of the butter. | Use orange zest or lime for a different citrus note. |
Optional Ingredients for Extra Flavor
- Almond extract: Adds a nutty undertone, commonly used in Nordic recipes.
- Dried fruits (raisins, cranberries): For a festive twist.
- Powdered sugar: To dust the cake before serving for an elegant finish.
- Rum or liqueur: Incorporate into the batter for deeper flavors, especially for holiday versions.
- Chocolate glaze or melted chocolate drizzle: Adds richness and modern appeal.
Dietary Adaptations for Bishop Cake
- Gluten-Free Version: Replace the all-purpose flour with a gluten-free blend that includes xanthan gum for structure.
- Dairy-Free or Vegan Option: Use plant-based butter and replace eggs with flax eggs. Almond milk or oat milk can replace cow’s milk without altering the flavor.
- Reduced-Sugar Variation: Use sugar substitutes like erythritol or monk fruit sweetener to lower the sugar content without compromising on taste.
Why These Ingredients Work Together
The combination of butter, sugar, and eggs forms the base for the cake’s structure and flavor. Creaming these ingredients together introduces air, ensuring the cake has a soft and tender crumb. The addition of lemon zest and juice brightens the flavor profile, giving the cake a slight tang that contrasts beautifully with the richness of the butter. Finally, the optional additions of dried fruit or glazes allow you to personalize the cake for holidays or other special occasions.
Step-by-Step Guide: How to Make Bishop Cake
Follow these detailed instructions to bake your Bishop Cake. Whether you’re making it for a festive occasion or simply indulging in a cozy dessert, this guide ensures the perfect result every time.
1 step: Prepare Your Tools and Ingredients
- Preheat your oven to 350°F (175°C).
- Grease a 10-inch bundt pan or round cake pan with butter, and lightly dust it with flour to prevent sticking.
- Gather all your ingredients at room temperature to ensure a smooth batter.
Tip: Room-temperature ingredients mix more easily, resulting in a uniform texture.
2 step: Cream the Butter and Sugar
- In a large mixing bowl, use a hand mixer or stand mixer to cream the butter and sugar together on medium speed for about 3-4 minutes, until light and fluffy.
- Scrape down the sides of the bowl to ensure everything is well incorporated.
Why It Matters: This step aerates the batter, giving the cake a tender crumb.
3 step: Add the Eggs One by One
- Add the eggs one at a time, beating for 1 minute after each addition to incorporate air.
- If the batter looks slightly curdled, don’t worry—it will smooth out when the dry ingredients are added.
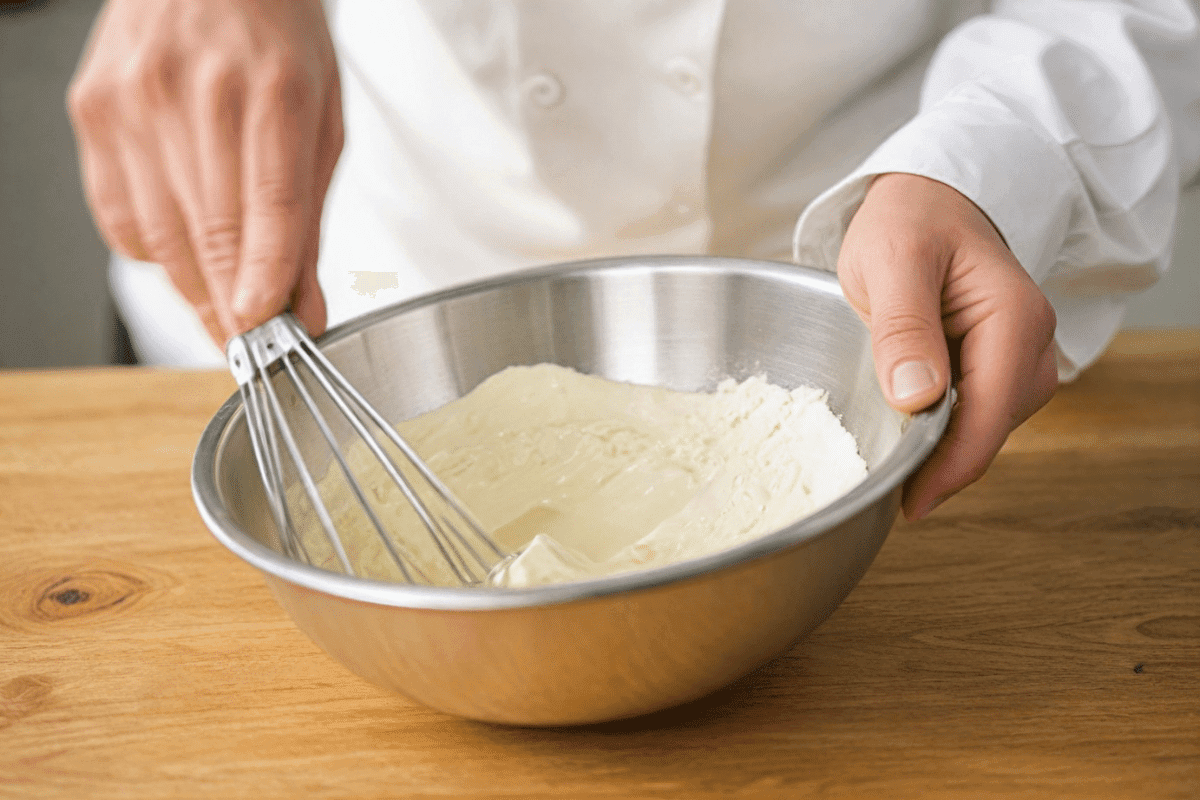
4 step: Mix in the Dry Ingredients and Milk
- In a separate bowl, sift together the flour, baking powder, and salt.
- Add the dry mixture to the wet ingredients in two parts, alternating with the milk. Begin and end with the dry ingredients.
- Mix on low speed until just combined—do not overmix to avoid a dense cake.
5 step: Add the Flavorings
- Stir in the lemon zest, lemon juice, and vanilla extract (or almond extract, if using).
- If desired, fold in dried fruits or nuts at this stage for an extra festive touch.
6 step: Pour and Smooth the Batter
- Pour the batter into the prepared pan, using a spatula to smooth the top.
- Tap the pan gently on the counter to release any air bubbles.
7 step: Bake the Cake
- Place the pan in the preheated oven and bake for 1 hour and 15 minutes.
- Check the cake around the 60-minute mark. If the top is browning too quickly, loosely cover it with foil for the remainder of the bake.
8 step: Test for Doneness
- Insert a toothpick into the center of the cake. If it comes out clean or with a few moist crumbs, the cake is done.
- If needed, bake for an additional 5-10 minutes.
9 step: Cool and Unmold the Cake
- Allow the cake to cool in the pan for 10-15 minutes.
- Run a butter knife around the edges to loosen the cake and invert it onto a cooling rack.
Tip: Cooling the cake slightly before unmolding helps maintain its shape.
10 step: Add the Final Touches
- Once cooled, dust the cake with powdered sugar or drizzle with lemon glaze.
- Optional: Add toppings such as whipped cream, berries, or a chocolate drizzle.
Dietary Adaptations and Tips for Perfect Results
- Vegan Option: Replace the eggs with flax eggs, and use plant-based milk and butter.
- Gluten-Free Version: Substitute the flour with a gluten-free blend and ensure the baking powder is gluten-free.
- Storage Tip: Store the cake in an airtight container at room temperature for up to 4 days. For longer storage, wrap it tightly and freeze for up to 1 month.
- Flavor Enhancement: This cake tastes even better the next day as the flavors develop. Perfect for make-ahead preparations.
Why Bishop Cake Stands Out from Other Cakes
Bishop Cake sets itself apart from other cakes through several unique characteristics:
- Chewy Crust and Moist Interior: The cake is known for its delightful contrast between a chewy outer crust and a soft, moist interior. This textural balance makes it distinct from traditional pound cakes.
- Rustic and Simple Presentation: Without elaborate frostings or decorations, Bishop Cake’s charm lies in its minimalism. A dusting of powdered sugar or a light glaze is often all it needs to shine.
- Long Shelf Life: Unlike sponge cakes, Bishop Cake retains moisture for several days, making it ideal for holidays and gatherings where preparation ahead of time is essential.
- Perfect for Holidays and Brunches: It’s frequently served during Christmas and Easter, with optional rum-soaked layers adding festive flair. Its subtle citrus notes also make it a popular brunch treat.
Serving Suggestions for Bishop Cake
There are several creative ways to serve Bishop Cake depending on the occasion and your personal preferences:
- Plain and Simple: Enjoy it without toppings to let the buttery flavor take center stage. A dusting of powdered sugar adds a simple touch of elegance.
- Citrus Glaze: Enhance the flavor with a drizzle of lemon or orange glaze, giving the cake a glossy finish and bright taste.
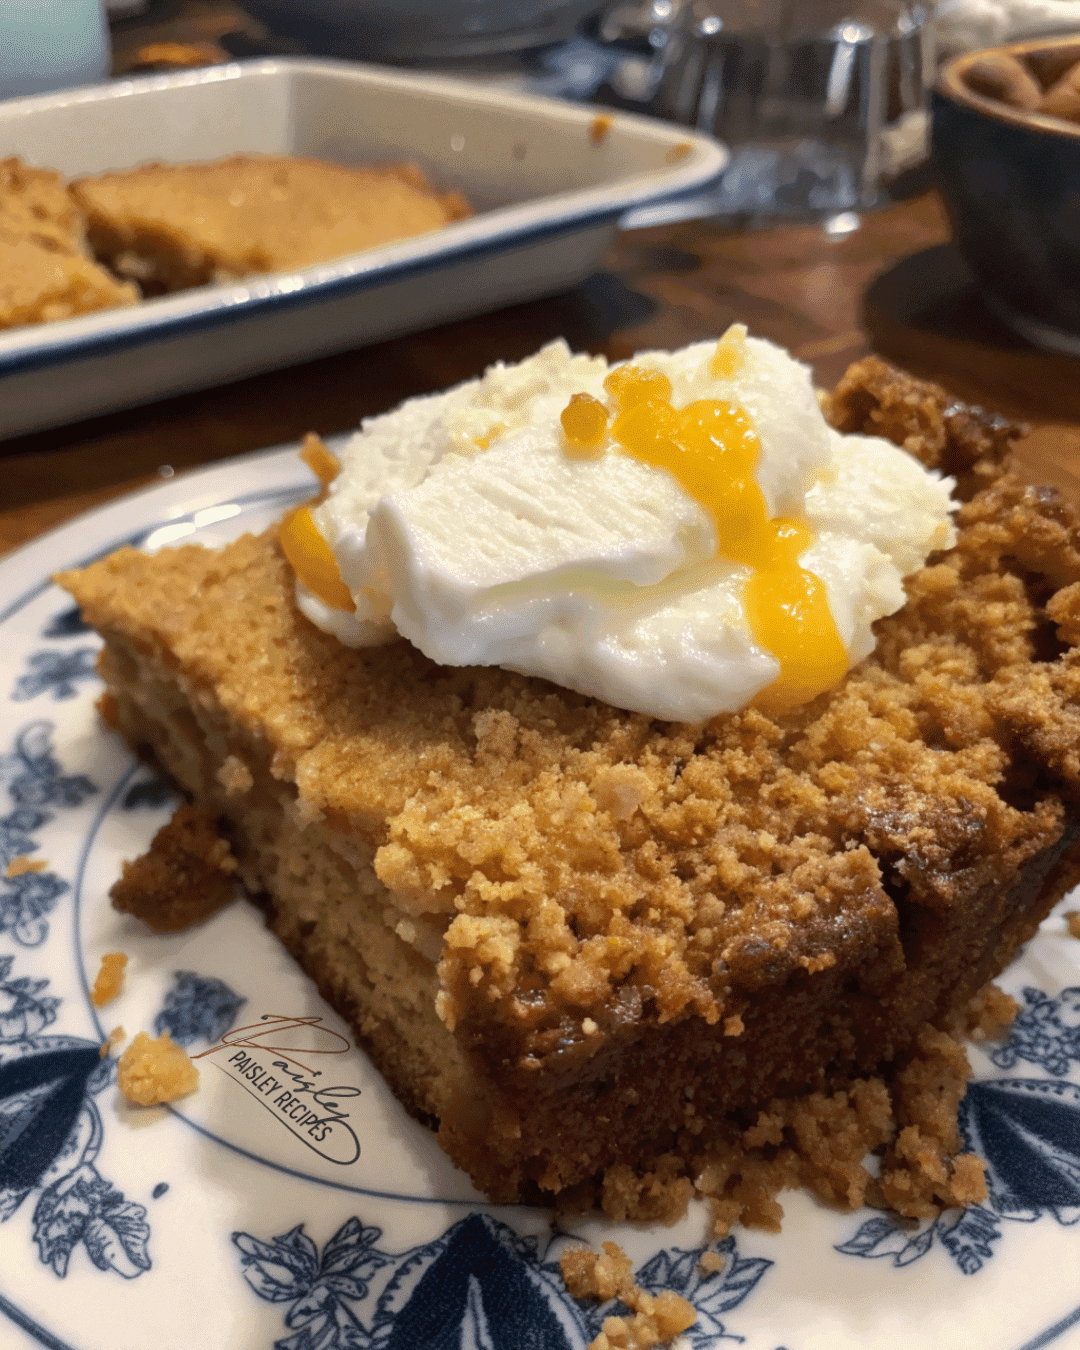
- With Ice Cream or Whipped Cream: Pairing the cake with vanilla ice cream or whipped cream adds richness, while fresh berries offer a refreshing contrast.
- Layered with Jam: Slice the cake in half and spread fruit compote or jam between the layers for a visually stunning dessert.
- Chocolate and Nut Drizzle: Modernize the cake with a drizzle of melted chocolate and a sprinkle of nuts, creating a perfect addition to holiday dessert spreads.
How to Store and Preserve Bishop Cake
Proper storage ensures the cake maintains its flavor and texture over time. Here are the best ways to store and preserve Bishop Cake:
- At Room Temperature:
- Store the cake in an airtight container for up to 4 days.
- Keep it in a cool, dry place to prevent it from becoming too moist or dry.
- In the Refrigerator:
- Wrap the cake tightly in plastic wrap or foil to avoid absorbing fridge odors.
- It can stay fresh for up to 7 days when refrigerated.
- Freezing the Cake:
- Wrap the cake in plastic wrap, followed by aluminum foil, to prevent freezer burn.
- Store for up to 1 month. Thaw overnight in the refrigerator before serving.
- Flavor Development:
- Bishop Cake tastes better with time; storing it for at least one day before serving allows the flavors to deepen.
Variations and Customizations for Bishop Cake
Bishop Cake’s simple base makes it ideal for experimentation. Here are some variations you can try:
- Citrus Variations:
- Swap lemon zest for orange or lime zest to create a new flavor profile.
- Festive Additions:
- Add rum, dried fruits, or nuts to the batter for a holiday version.
- Chocolate Lover’s Twist:
- Drizzle the cake with melted dark or white chocolate for an indulgent treat.
- Diet-Friendly Alternatives:
- Use gluten-free flour or plant-based butter and milk for those with dietary restrictions.
- Layered Cake Option:
- Slice the cake in half and spread a layer of jam or fruit compote for an elegant dessert.
FAQs: Frequently Asked Questions About Bishop Cake
Why is it called Elvis Presley cake?
Though unrelated to Bishop Cake, Elvis Presley cake is another Southern dessert made with crushed pineapple and pecans. Both cakes share a rustic charm and simplicity.
Discover more delicious cake recipes on paisleyrecipes.com.
What is the most delicious cake in the world?
This depends on personal preference, but many people enjoy the simplicity of Bishop Cake for its rich, buttery texture and hint of citrus. Its chewy crust makes it a unique contender among beloved cakes.
Explore the flavors that make Bishop Cake so special on paisleyrecipes.com.
What is Bishop Cake?
Bishop Cake is a type of pound cake with a chewy exterior and moist crumb, often flavored with lemon or vanilla. Its history is rooted in Nordic traditions and religious celebrations.
Learn more about the origins of Bishop Cake on paisleyrecipes.com.
What is the most expensive cake in the United States?
While cakes like the extravagant Diamond Chocolate Cake can cost millions, Bishop Cake stands out for its affordability and taste. It’s simple yet indulgent, making it a hit at gatherings.
Explore budget-friendly baking ideas on paisleyrecipes.com.
What is the most British cake?
The Victoria Sponge Cake is traditionally considered the most British. However, Bishop Cake shares similarities with British pound cake, though it features a denser texture and rustic appearance.
Discover how Bishop Cake compares to British cakes on paisleyrecipes.com.
Is Bishop a type of cake?
Yes, Bishop Cake is a distinct type of cake, often classified as a pound cake due to its rich texture. It is known for its slightly chewy crust and is versatile enough to serve on various occasions.
Find more variations of Bishop Cake on paisleyrecipes.com.
Conclusion
Bishop Cake is more than just a dessert—it’s a symbol of tradition and simplicity that has endured for generations. With its unique combination of a chewy crust and moist, flavorful interior, this cake offers a delightful experience for any occasion. Whether served plain, with a citrus glaze, or paired with cream and berries, it caters to diverse tastes and preferences.
What makes Bishop Cake truly special is how easy it is to prepare and customize. Its long shelf life makes it perfect for holidays, gatherings, and family events, while simple ingredient swaps allow for gluten-free and vegan-friendly versions.
Baking Bishop Cake is not just about following a recipe; it’s about embracing tradition and enjoying the process. Once you make it, you’ll find yourself returning to it again and again for its comforting flavors and versatility.
Print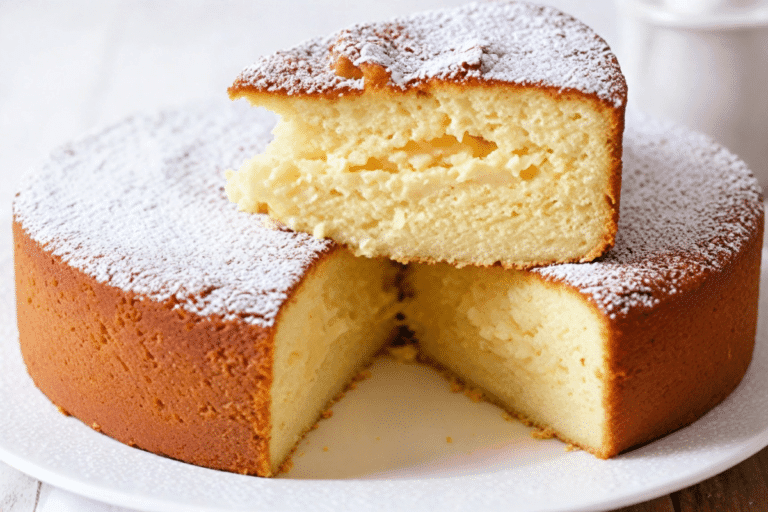
Bishop Cake: A Traditional Delight with a Nordic Twist
Bishop Cake is a classic Nordic dessert known for its chewy crust and moist interior. Perfect for holidays or brunches, this simple cake develops deeper flavors over time and offers a variety of ways to serve and customize it.
- Total Time: 1 hour 30 minutes
- Yield: 12 servings
Ingredients
- 2 cups all-purpose flour
- 1 cup unsalted butter
- 1 cup granulated sugar
- 3 large eggs
- ½ cup milk
- 2 teaspoons baking powder
- ¼ teaspoon salt
- 1 teaspoon vanilla extract
- 2 tablespoons lemon zest and juice
Instructions
- Preheat the oven to 350°F (175°C) and grease a 10-inch bundt pan with butter and flour.
- Cream the butter and sugar together until light and fluffy.
- Add the eggs one at a time, beating well after each addition.
- Sift the flour, baking powder, and salt, and add them to the batter alternately with the milk.
- Stir in the vanilla extract, lemon zest, and juice.
- Pour the batter into the prepared pan and smooth the top.
- Bake for 1 hour and 15 minutes or until a toothpick comes out clean.
- Cool in the pan for 10-15 minutes, then transfer to a wire rack.
- Dust with powdered sugar or drizzle with glaze before serving.
Notes
- For a gluten-free version, substitute all-purpose flour with a gluten-free blend.
- Add dried fruits or nuts for a festive variation.
- Store the cake in an airtight container for up to 4 days or freeze for longer storage.
- Prep Time: 15 minutes
- Cook Time: 1 hour 15 minutes
- Category: Desserts
- Method: Baking
- Cuisine: Nordic
Nutrition
- Serving Size: 1 slice
- Calories: 350
- Sugar: 25g
- Sodium: 120mg
- Fat: 16g
- Saturated Fat: 10g
- Unsaturated Fat: 5g
- Trans Fat: 0g
- Carbohydrates: 45g
- Fiber: 1g
- Protein: 5g
- Cholesterol: 85mg

