Nothing makes a birthday celebration more magical than a beautifully crafted Barbie Cake. This stunning dessert isn’t just a treat—it’s a show-stopping centerpiece that brings joy to kids and adults alike. With its elegant doll-in-cake design, vibrant colors, and customizable decorations, a Barbie Cake is the ultimate party delight.
Making a Barbie Cake at home might seem like a daunting task, but with the right recipe, tools, and step-by-step guidance, you’ll be able to create a masterpiece that will impress everyone at the party. Whether you prefer classic buttercream, fondant-covered designs, or themed variations like a mermaid Barbie or a princess-style cake, this guide will walk you through every detail.
Table of Contents
Get ready to transform an ordinary cake into a dreamy Barbie Cake that will make any birthday unforgettable!
What is a Barbie Cake?
A Barbie Cake is a whimsical and creative dessert that features a Barbie doll embedded into a dome-shaped cake, making it appear as if she’s wearing a stunning edible gown. This cake is a popular choice for birthdays, especially for children who adore Barbie dolls and princess-themed celebrations.
Unlike a traditional layered cake, a Barbie Cake is uniquely sculpted to resemble a voluminous dress. It’s often decorated with buttercream ruffles, fondant designs, edible glitter, and intricate piping to enhance its elegance. Whether it’s a classic pink princess dress or a modern ombré creation, the design possibilities are endless.
Why is the Barbie Cake So Popular?
- Perfect for Birthday Parties – A Barbie Cake serves as both a delicious treat and an eye-catching centerpiece that amazes guests.
- Customizable Designs – From fairy tale princesses to themed Barbie dolls like mermaids and ballerinas, you can create a unique cake to match any party theme.
- Great for All Skill Levels – Whether you’re a beginner baker or a professional pastry chef, making a Barbie Cake can be a fun and rewarding experience with the right guidance.
- Instagram-Worthy Dessert – With its intricate design and vibrant colors, a Barbie Cake is a social media favorite, perfect for capturing those memorable birthday moments.
Traditional vs. Modern Barbie Cakes
| Type | Description |
|---|---|
| Classic Barbie Cake | Uses a standard round cake with a Barbie doll placed in the center and decorated with buttercream. |
| Fondant Barbie Cake | Features a smooth fondant dress with intricate edible details. |
| Ombré Barbie Cake | A trendy design with gradient frosting shades for a dramatic effect. |
| Mermaid Barbie Cake | Incorporates oceanic colors, edible seashells, and a mermaid-themed Barbie. |
| Fairy Barbie Cake | Decorated with edible wings, flowers, and pastel colors for a magical look. |
A perfectly crafted Barbie Cake requires the right combination of ingredients for the cake base, frosting, and decorations. Below is a detailed breakdown of everything you need, along with some dietary-friendly substitutions.
Ingredients for Barbie Cake
Before you start baking, gather all the necessary ingredients to ensure a smooth process.
Cake Base Ingredients
| Ingredient | Quantity | Substitutions |
|---|---|---|
| All-purpose flour | 2 ½ cups | Gluten-free flour blend (for gluten-free) |
| Baking powder | 2 ½ tsp | Baking soda (use 1 ¼ tsp) |
| Salt | ½ tsp | Omit if using salted butter |
| Unsalted butter (softened) | 1 cup | Vegan butter (for dairy-free) |
| Granulated sugar | 1 ¾ cups | Coconut sugar (for refined sugar-free) |
| Eggs | 4 large | Flax eggs (1 tbsp flaxseed + 3 tbsp water per egg) |
| Whole milk | 1 cup | Almond milk or coconut milk (for dairy-free) |
| Vanilla extract | 2 tsp | Almond extract for a nutty flavor |
| Pink food coloring (optional) | A few drops | Natural beetroot powder (for a natural pink hue) |
Buttercream Frosting Ingredients
| Ingredient | Quantity | Substitutions |
|---|---|---|
| Unsalted butter (softened) | 1 cup | Vegan butter |
| Powdered sugar | 4 cups | Sugar-free powdered sweetener |
| Heavy cream | 2-3 tbsp | Coconut cream (for dairy-free) |
| Vanilla extract | 2 tsp | Almond or coconut extract for extra flavor |
| Pink food coloring | A few drops | Natural fruit powder (strawberry/beetroot) |
Fondant (Optional)
If you prefer a fondant-covered Barbie Cake, you’ll need:
- 2 cups of store-bought fondant (or homemade)
- Edible glitter, pearls, or edible flowers for extra decoration
Equipment & Tools Required
| Tool | Purpose |
|---|---|
| 8-inch round cake pans (3-4 layers) | For baking the cake base |
| Mixing bowls | To combine ingredients |
| Electric mixer or whisk | To mix the batter and frosting |
| Bundt pan (optional) | Helps create the dome shape easily |
| Knife or cake leveler | For trimming and shaping the cake |
| Offset spatula | For spreading frosting smoothly |
| Piping bags & tips | To create dress ruffles and designs |
| Cake turntable | For easy decorating |
| Barbie doll (wrapped in plastic wrap) | To insert in the center of the cake |
Dietary-Friendly Options
If you need a gluten-free, dairy-free, or vegan Barbie Cake, here are some tips:
- Gluten-Free: Use a gluten-free flour blend and ensure all ingredients (like baking powder) are gluten-free.
- Dairy-Free: Swap out butter for vegan butter, use plant-based milk, and replace heavy cream with coconut cream.
- Vegan: Use flax eggs, vegan butter, and plant-based milk.
With these ingredients, you’re ready to bake a stunning and delicious Barbie Cake that suits any dietary preference!
Step-by-Step Guide – How to Make a Barbie Cake
Now that we have all the ingredients and tools ready, let’s dive into the step-by-step process of making a stunning Barbie Cake. This guide will take you through baking, assembling, frosting, and decorating the cake to achieve a show-stopping result.
Step 1: Bake the Cake Layers
- Preheat the Oven – Set your oven to 350°F (175°C) and grease three to four 8-inch round cake pans (or a bundt pan for a dome shape).
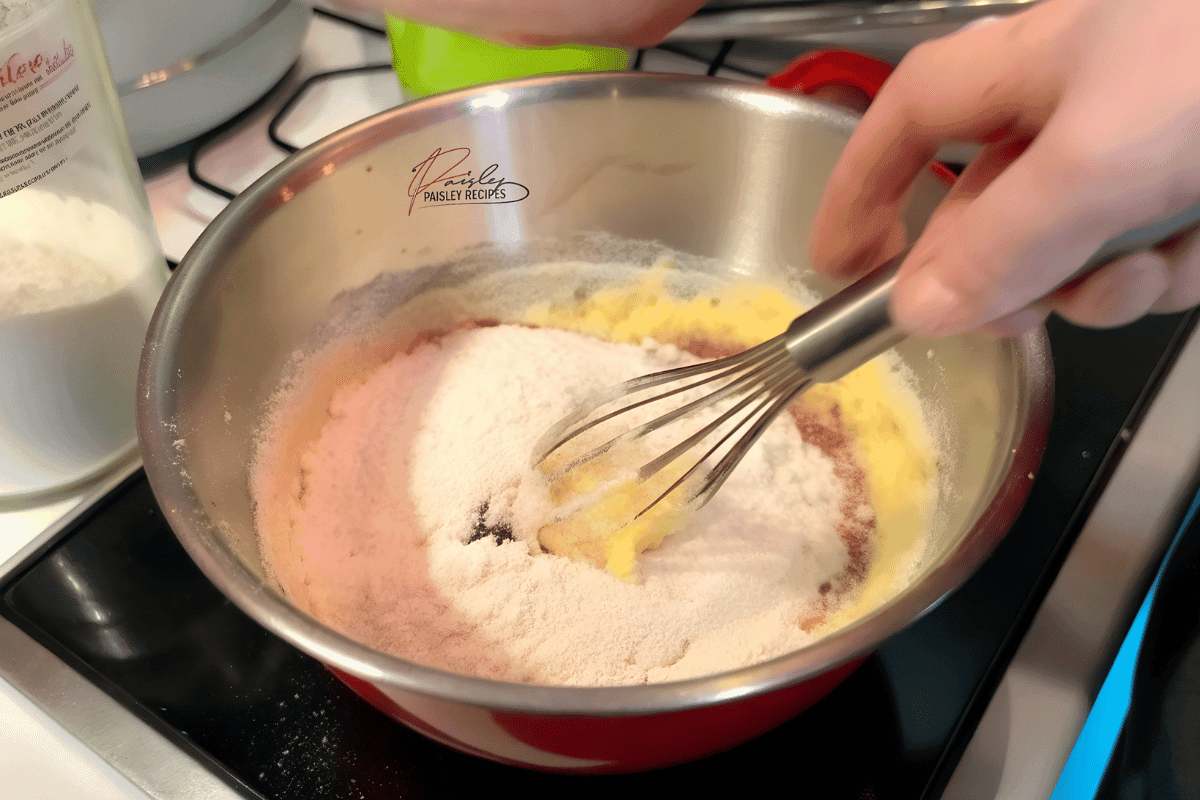
- Prepare the Batter – In a mixing bowl, whisk together flour, baking powder, and salt. In another large bowl, beat butter and sugar until light and fluffy. Add eggs one at a time, then mix in the vanilla extract and milk.
- Combine Dry & Wet Ingredients – Gradually add the dry ingredients to the wet mixture, mixing until just combined. If using food coloring, mix in a few drops for a vibrant pink cake.
- Bake – Divide the batter evenly into the cake pans and bake for 25-30 minutes, or until a toothpick inserted comes out clean.
- Cool Completely – Let the cakes cool in the pans for 10 minutes, then transfer them to a wire rack to cool completely.
Tip: If you want a dome-shaped cake without a bundt pan, you can stack and carve the cake into shape later!
Step 2: Prepare the Barbie Doll
- Choose the Right Doll – Use a Barbie that fits well inside the cake.
- Wrap the Doll – To keep it clean, wrap the doll’s lower half with plastic wrap or foil before inserting it into the cake.
- Remove Legs (Optional) – If the doll is too tall, you can remove its legs or use a shorter Barbie doll.
Step 3: Assemble the Cake Structure
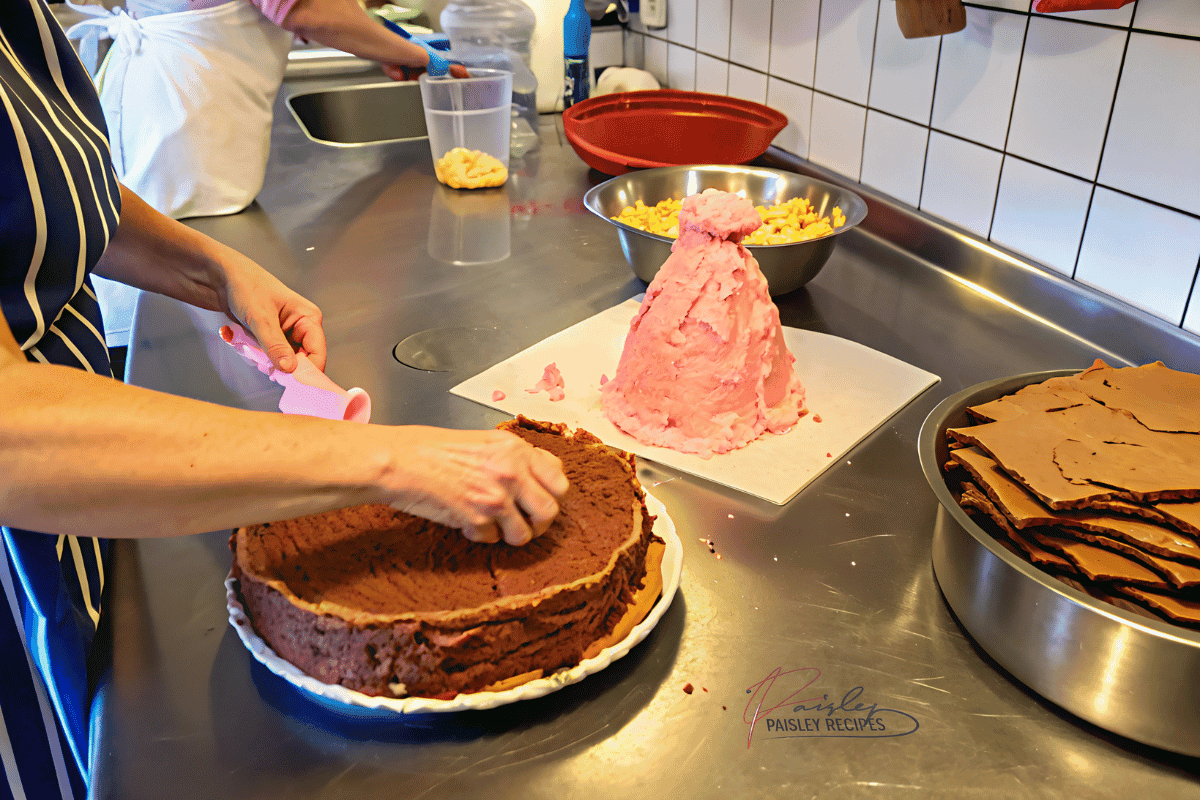
- Stack the Cake Layers – Place one cake layer on a cake board or serving plate and spread a thin layer of frosting. Repeat with each layer.
- Carve the Dress Shape – If using round cakes instead of a bundt pan, use a sharp knife to gently trim the sides to create a dome shape.
- Create a Center Hole – Carefully cut a hole in the middle of the stacked cakes to fit the Barbie doll. Make sure the hole isn’t too wide to keep the doll stable.
- Insert the Barbie Doll – Place the wrapped Barbie into the hole, adjusting as needed.
Step 4: Apply a Crumb Coat
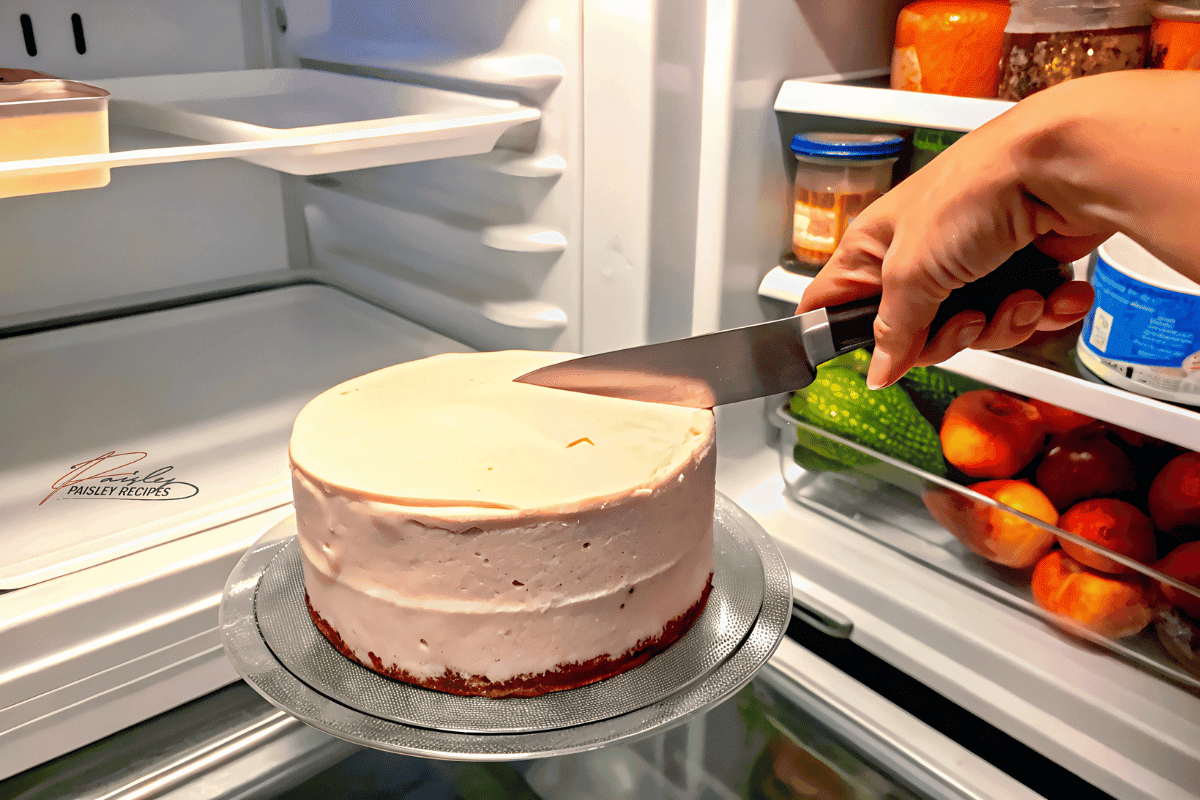
- First Layer of Frosting – Apply a thin layer of buttercream frosting over the entire cake. This will help catch any loose crumbs.
- Chill the Cake – Refrigerate the cake for 20-30 minutes to set the crumb coat before applying the final layer.
Step 5: Decorating the Barbie Cake
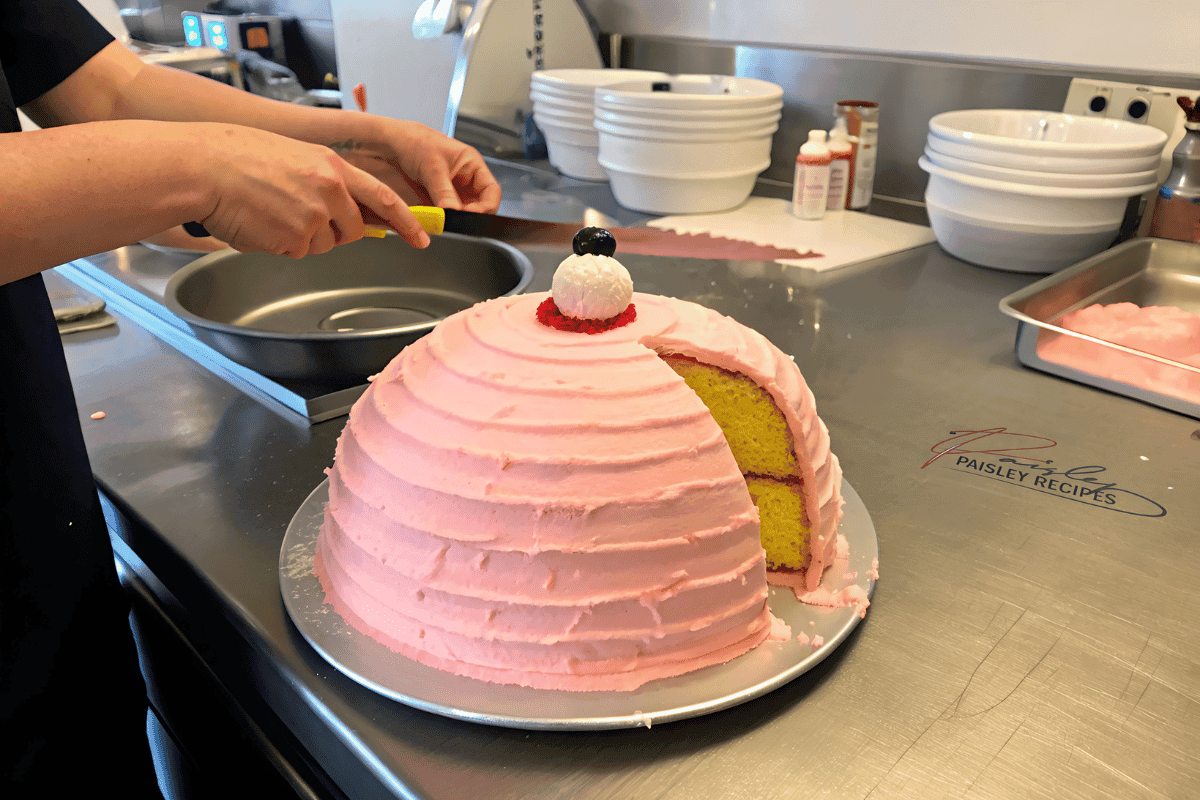
- Final Frosting Layer – Using an offset spatula, spread a smooth layer of buttercream over the entire cake.
- Piping Dress Ruffles – Use a piping bag with a star tip to create buttercream ruffles, working from the bottom up to resemble a flowing gown.
- Fondant Dress (Optional) – If using fondant, roll it out and drape it over the cake to form a gown.
- Add Decorative Details – Use edible glitter, sugar pearls, or flowers to enhance the look.
- Color Coordination – Use different shades of pink, purple, or any preferred color theme for an eye-catching effect.
Tip: If decorating with edible pearls or sprinkles, press them gently into the frosting before it sets.
Step 6: Final Touches & Presentation
- Finishing the Barbie Doll – Adjust the doll’s arms, fix her hair, and ensure the dress design flows naturally.
- Add a Cake Topper – For a personalized touch, add a name or age topper.
- Place on a Decorative Cake Stand – Displaying the cake on a stand with fairy lights or floral accents enhances its presentation.
Step 7: Serving & Storage
- Cutting the Cake – Remove the doll before slicing the cake. Start from the sides and work inward.
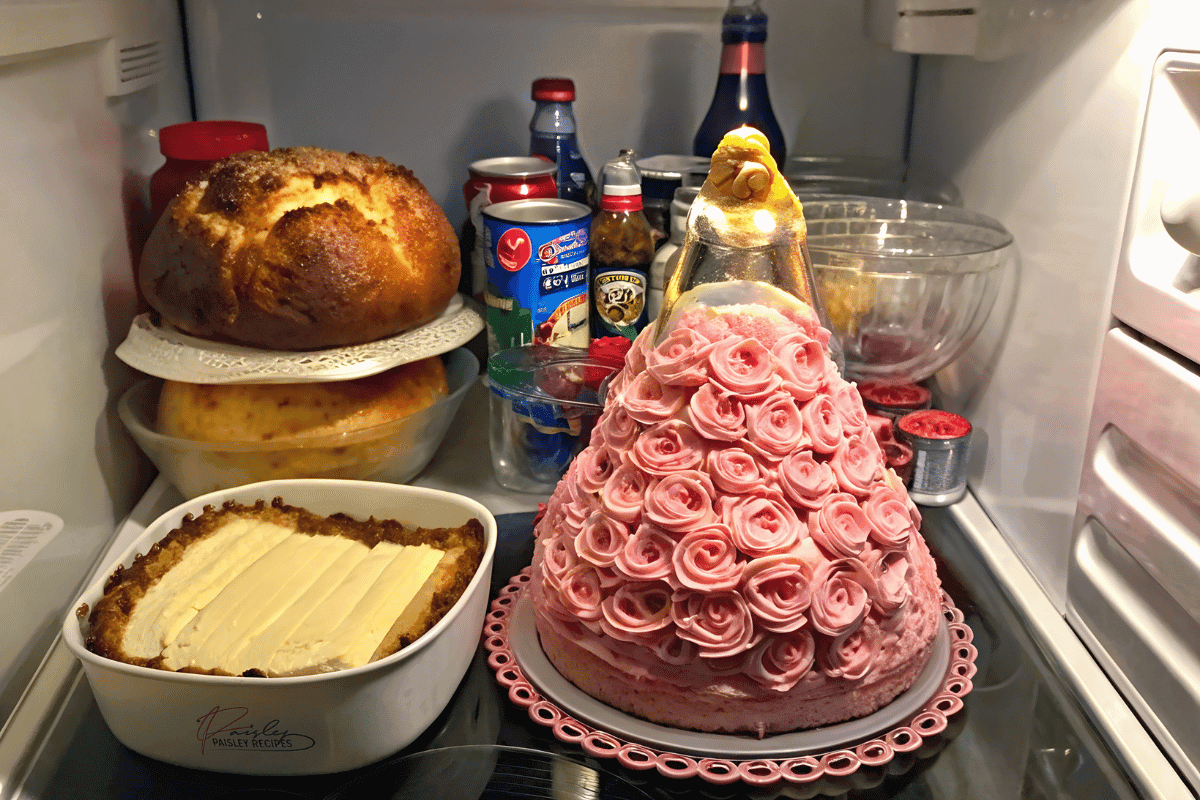
- Storage Tips – Store leftovers in an airtight container in the refrigerator for up to 3 days. If using fondant, keep the cake in a cool, dry place to prevent melting.
Barbie Cake Variations
Not all Barbie Cakes have to follow the classic pink princess theme! There are numerous ways to customize the cake based on different themes, styles, and preferences.
1. Classic Princess Barbie Cake
This is the most popular Barbie Cake style, featuring a voluminous buttercream or fondant dress with elegant ruffles, pearls, and edible glitter. Ideal for princess-themed parties, this variation usually comes in shades of pink, purple, or gold.
2. Ombre Barbie Cake
For a trendy and modern look, the ombre style is perfect. It features a gradual color transition on the dress, blending from light to dark shades of pink, purple, blue, or any favorite color. This technique can be achieved using buttercream piping or fondant layering.
3. Mermaid Barbie Cake
Transform your Barbie Cake into an underwater fantasy! This version uses ocean-blue buttercream, edible seashells, and sugar pearls to resemble a mermaid’s tail. Adding a mermaid-themed Barbie doll completes the magical look.
4. Fairy Barbie Cake
A fairy Barbie Cake can include edible wings, floral details, and pastel hues to create a whimsical feel. Adding tiny sugar butterflies or edible flowers enhances the enchanting theme.
5. Wedding Barbie Cake
A sophisticated take on the classic Barbie Cake, this variation features a white fondant gown with lace details, pearls, and delicate sugar flowers. Perfect for a bridal shower or a mini wedding-themed party.
6. Seasonal Barbie Cakes
Match the cake theme to the season for a festive touch!
- Winter Wonderland Barbie Cake – Blue and white hues, snowflakes, and edible glitter.
- Spring Floral Barbie Cake – Decorated with pastel colors and edible flowers.
- Summer Tropical Barbie Cake – Vibrant colors, pineapple, and floral elements.
- Autumn Barbie Cake – Warm hues like orange and brown, with edible leaves.
7. Themed Barbie Cakes
Want to match a Barbie Cake to a favorite Disney princess or superhero Barbie? You can customize the dress design to resemble characters like Elsa, Belle, Wonder Woman, or a Unicorn Barbie Cake!
Decorating Ideas and Themes
A well-decorated Barbie Cake brings the entire design to life! Here are some unique decorating ideas and professional techniques to make your cake stand out.
1. Buttercream Piping Techniques
Using piping bags and different tips, you can create stunning textures for Barbie’s gown:
- Ruffle Piping – Use a petal tip to create fabric-like folds.
- Rosette Swirls – Pipe elegant buttercream roses using a large star tip.
- Basketweave Pattern – Great for a vintage-style dress effect.
2. Fondant Decorations
If you prefer a smooth, polished look, fondant is the way to go! You can:
- Cut fondant drapes and pleats to mimic real fabric.
- Use edible lace appliqués for a delicate touch.
- Add gold or silver edible paint for a royal effect.
3. Edible Glitter & Sprinkles
A little sparkle goes a long way! Dusting edible glitter on Barbie’s dress makes it pop. You can also use:
- Sugar pearls for a beaded gown effect.
- Metallic sprinkles to highlight design details.
- Shimmering edible dust to add dimension.
4. Themed Cake Toppers & Accessories
Adding customized cake toppers elevates the cake’s presentation. Here are some ideas:
- Birthday name & age topper
- Mini tiaras or edible jewelry
- Themed fondant accessories (butterflies, flowers, seashells, etc.)
5. Multi-Tier Barbie Cakes
For a grand, luxurious effect, consider a two-tier Barbie Cake where the bottom tier serves as a decorated cake base, while Barbie’s dress forms the top tier.
Troubleshooting Common Issues
Even experienced bakers encounter challenges when making a Barbie Cake. Here’s how to solve some of the most common problems.
1. Cake Collapsing or Sinking in the Middle
Possible Causes:
- Overmixing the batter, leading to excess air.
- Opening the oven too soon, causing temperature fluctuation.
- Underbaking the cake.
Solutions:
Mix the batter just until combined—do not overbeat.
Bake at the correct temperature (350°F/175°C) and avoid opening the oven door too soon.
Insert a toothpick—if it comes out clean, the cake is done.
2. Cake Layers Are Uneven
Possible Causes:
- Incorrectly leveled batter before baking.
- Uneven oven heat distribution.
Solutions:
Use a cake leveler or a serrated knife to trim uneven layers.
Rotate the cake pans halfway through baking for even cooking.
3. Buttercream Frosting is Too Runny or Melting
Possible Causes:
- Butter or cream was too warm when mixed.
- High room temperature while frosting.
Solutions:
Chill the buttercream in the fridge for 15 minutes if it’s too soft.
Always frost a cooled cake—not a warm one.
Work in a cool kitchen and avoid direct sunlight.
4. Fondant Cracking or Tearing
Possible Causes:
- Fondant is too dry.
- Rolling it too thin.
Solutions:
Knead in a few drops of vegetable shortening to soften it.
Roll to about ⅛ inch thickness for flexibility.
5. Barbie Doll Not Staying in Place
Possible Causes:
- The hole in the cake is too wide.
- The cake isn’t stable enough to hold the doll.
Solutions:
Wrap the doll tightly in plastic wrap to fit snugly.
Use a bit of buttercream or fondant to secure the base.
If needed, insert a cake dowel near the doll for extra support.
Frequently Asked Questions (FAQs)
1. How to Make a Barbie Cake?
To make a Barbie Cake, follow these steps:
Bake three to four round cake layers or use a bundt pan for the dress shape.
Prepare a Barbie doll by wrapping it in plastic wrap.
Stack and carve the cakes into a dome shape.
Insert the Barbie doll into the center of the cake.
Frost and decorate using buttercream, fondant, or edible decorations.
Check our Other Recipes!
2. Can You Use a Bundt Pan for a Barbie Cake?
Yes! A bundt pan is a great shortcut for shaping a Barbie Cake because it naturally creates a dome shape, which mimics a dress. Simply bake a cake in a bundt pan, cut a hole in the center, and insert the Barbie doll. However, you may need extra cake layers underneath for added height.
3. How Much Should I Charge for a Barbie Cake?
The price of a Barbie Cake depends on the size, decorations, and ingredients used. Here’s a pricing estimate:
Type of Barbie Cake
Estimated Price
Simple Buttercream Barbie Cake
$50 – $80
Fondant Barbie Cake with Decorations
$80 – $150
Custom-Themed Barbie Cake (Luxury Design)
$150 – $300+
If you’re selling cakes, factor in ingredients, time, and labor costs to determine a fair price.
4. How to Make a Barbie Cake Without a Bundt Pan?
If you don’t have a bundt pan, you can still make a Barbie Cake using regular round cake layers:
Bake 3-4 round cakes (8-inch size).
Stack the cakes with buttercream between each layer.
Carve the sides to create a dome shape.
Insert the Barbie doll and decorate!
Using a cake leveler or knife, gently trim the edges to resemble a dress.
5. Can I Make a Barbie Cake in Advance?
Yes! You can bake the cake 1-2 days in advance and store it properly:
Unfrosted Cake Layers – Wrap them in plastic wrap and store at room temperature for 24 hours or refrigerate for up to 3 days.
Decorated Barbie Cake – Keep in the fridge for up to 2 days, but avoid humidity to prevent fondant from melting.
For best results, frost and decorate the cake on the same day of serving.
6. How Do I Transport a Barbie Cake?
Transporting a Barbie Cake requires extra care to prevent damage:
Use a sturdy cake box with enough space for the doll’s height.
Place non-slip mats under the cake to prevent movement.
Keep the car air-conditioned to prevent buttercream from melting.
Assemble final decorations (like pearls or sprinkles) at the venue for a fresh look.
7. How to Make a Barbie Cake for Special Diets (Gluten-Free, Dairy-Free, Vegan)?
To make a gluten-free, dairy-free, or vegan Barbie Cake, try these swaps:
Dietary Need
Alternative Ingredients
Gluten-Free
Use a gluten-free flour blend in the cake batter.
Dairy-Free
Replace butter with vegan butter and milk with almond or coconut milk.
Vegan
Use flax eggs (1 tbsp flaxseed + 3 tbsp water per egg) instead of regular eggs.
These swaps still create a delicious, moist, and beautiful Barbie Cake!
Conclusion
Creating a Barbie Cake is not just about baking—it’s about crafting a magical and memorable centerpiece for a birthday or celebration. Whether you’re making a classic princess Barbie Cake, a mermaid-themed version, or a budget-friendly homemade cake, the possibilities are endless.
With the right ingredients, tools, and decorating techniques, anyone can achieve a stunning Barbie Cake. Remember to:
Follow the step-by-step guide for baking, assembling, and decorating.
Experiment with creative designs like ombré, fondant-covered, or seasonal themes.
Use budget-friendly tips to make an affordable yet gorgeous cake.
Avoid common baking mistakes by troubleshooting in advance.
Customize the cake to match any party theme or dietary need.
A Barbie Cake isn’t just a dessert—it’s a show-stopping centerpiece that brings smiles to any celebration!
Now it’s your turn! Try making your own Barbie Cake and share your results with us. If you loved this recipe, explore more creative cake ideas on PaisleyRecipes.com!
Print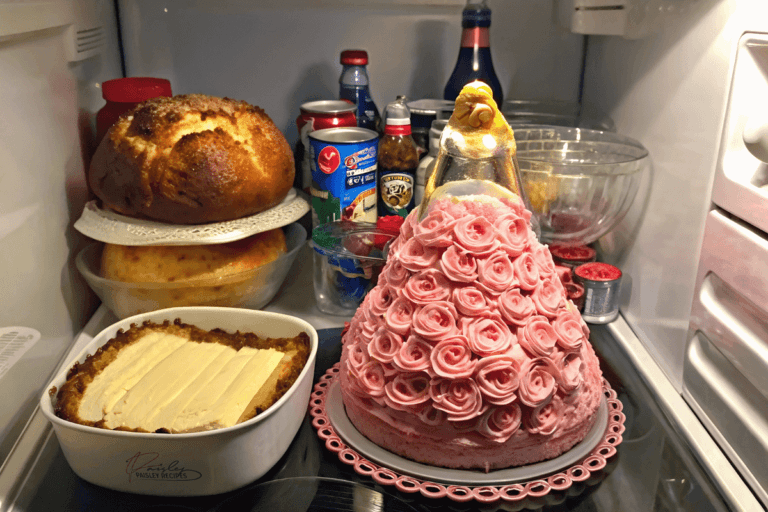
Barbie Cake: The Perfect Birthday Dessert for Girls
Make a show-stopping Barbie Cake for birthdays! This step-by-step recipe includes easy instructions for baking, assembling, and decorating a stunning doll cake. Perfect for any themed celebration!
- Total Time: 1 hour 15 minutes
- Yield: 10-12 servings
Ingredients
- 2 ½ cups all-purpose flour
- 2 ½ tsp baking powder
- ½ tsp salt
- 1 cup unsalted butter, softened
- 1 ¾ cups granulated sugar
- 4 large eggs
- 1 cup whole milk
- 2 tsp vanilla extract
- Pink food coloring (optional)
Buttercream Frosting:
- 1 cup unsalted butter, softened
- 4 cups powdered sugar
- 2–3 tbsp heavy cream
- 2 tsp vanilla extract
- Pink food coloring
Optional Fondant & Decorations:
- 2 cups store-bought fondant
- Edible glitter, sugar pearls, or edible flowers
Instructions
- Preheat the oven to 350°F (175°C). Grease three 8-inch round cake pans.
- Prepare the batter by mixing flour, baking powder, and salt. In a separate bowl, cream butter and sugar, then add eggs, vanilla, and milk.
- Combine ingredients and mix until smooth. Pour batter into cake pans and bake for 25-30 minutes.
- Cool the cakes completely before assembling.
- Wrap the Barbie doll in plastic wrap and set aside.
- Stack the cake layers, trimming as needed to create a dome shape. Cut a hole in the center for the Barbie doll.
- Insert the doll and apply a crumb coat of buttercream. Chill for 20 minutes.
- Decorate the dress with buttercream ruffles or fondant. Add sprinkles, pearls, or edible glitter.
- Finish the design and place the cake on a stand for serving.
Notes
- If you don’t have a bundt pan, stack round cakes and carve the shape manually.
- Store the cake in an airtight container for up to 3 days.
- For a dairy-free version, use vegan butter and almond milk.
- Prep Time: 45 minutes
- Cook Time: 30 minutes
- Category: Desserts
- Method: Baking
- Cuisine: American
Nutrition
- Serving Size: 1 slice
- Calories: 480 kcal
- Sugar: 50g
- Sodium: 190mg
- Fat: 22g
- Saturated Fat: 12g
- Unsaturated Fat: 8g
- Trans Fat: 0g
- Carbohydrates: 65g
- Fiber: 1g
- Protein: 5g
- Cholesterol: 75mg

