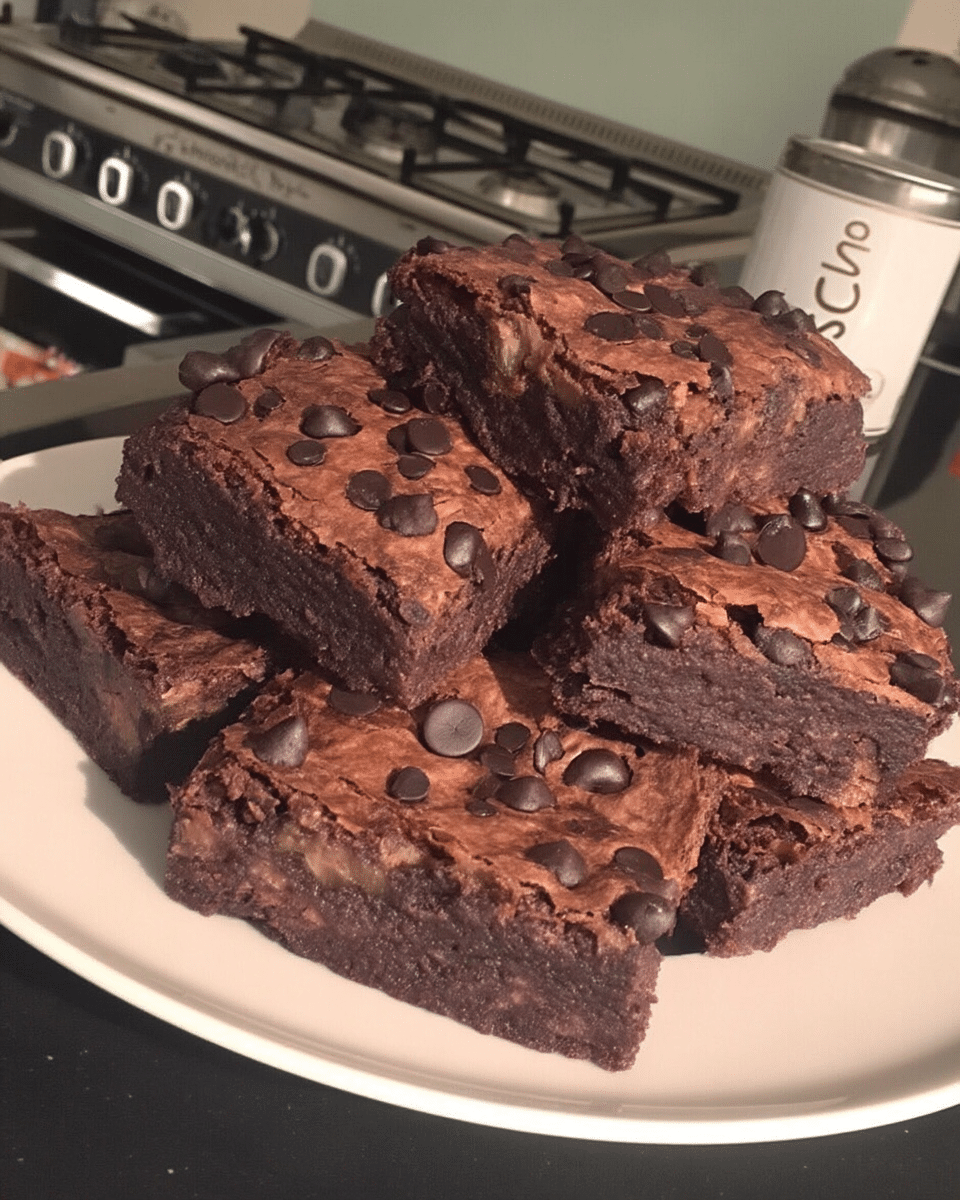
Some of my sweetest kitchen memories come from school mornings—me scrambling eggs while packing snacks with one hand and tying shoelaces with the other. But the real joy? Those soft, gooey Chocolate Chip Banana Bars waiting on the counter, cooled just enough to slice and tuck into lunchboxes. When my youngest took her first bite and whispered, “This is better than the cafeteria cookies,” I knew we had a keeper. These bars are everything you want in school snacks—easy, wholesome, and loaded with flavor kids crave and parents approve of.
We’re talking ripe bananas, warm vanilla, sweet chocolate chips, and a soft, chewy bite that never makes it home uneaten. Whether you’re baking for lunchboxes or after-school pick-me-ups, this is one recipe you’ll want to save and share.
Let’s make memories one bite at a time.
Why You’ll Love This Recipe
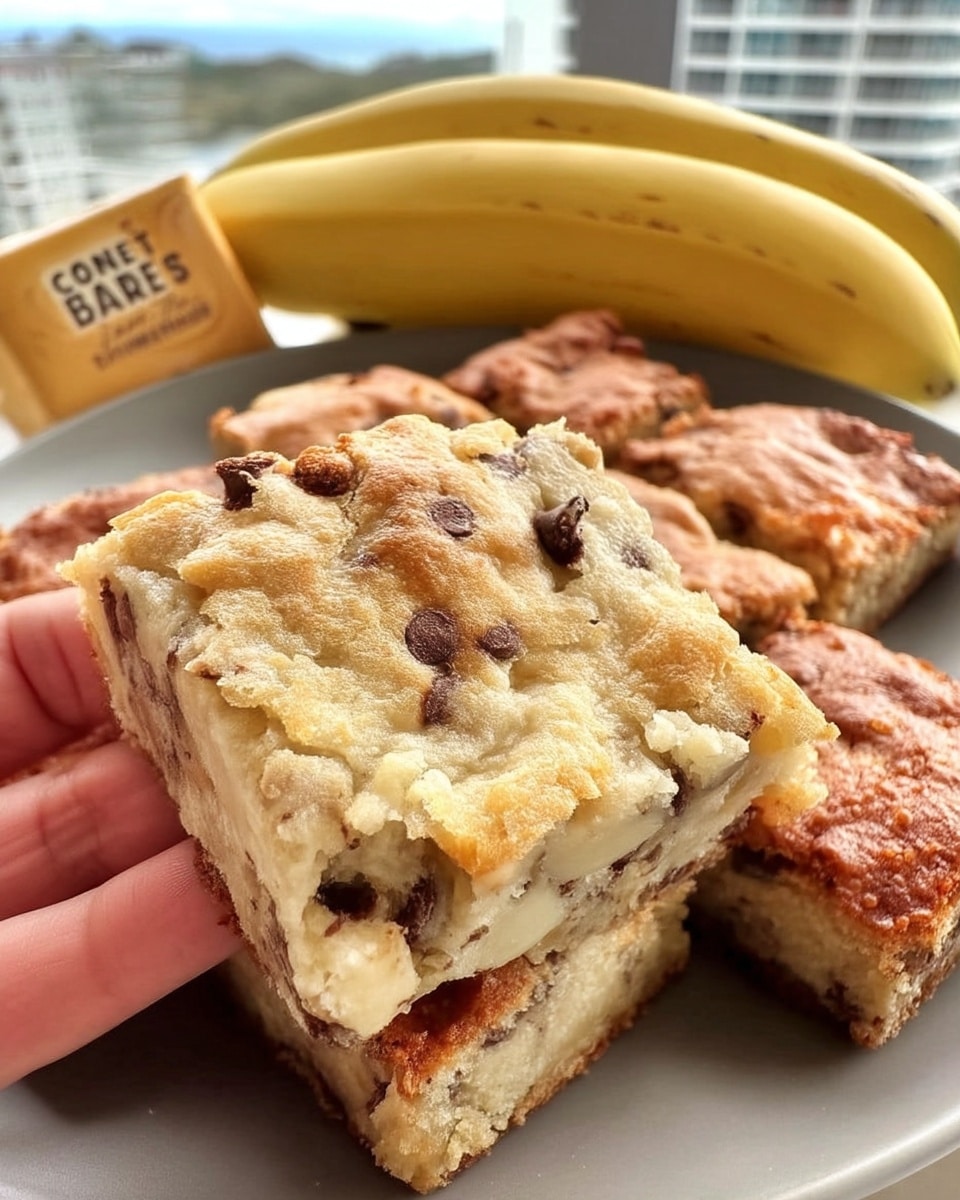
These chocolate chip banana bars strike the perfect balance between homemade goodness and kid-friendly sweetness. They’re soft, chewy, and just the right amount of indulgent for a midday energy boost or a treat after class.
This recipe is incredibly easy, with only basic pantry ingredients and no fancy tools. Whether you’re a beginner or a seasoned baker, these bars will come together effortlessly in under 40 minutes. That’s a big win for busy mornings or weeknight baking.
They’re the kind of school snacks that hold up well in lunchboxes, don’t need refrigeration, and slice neatly into squares. No sticky messes or crumbled disappointment—just tidy, snackable joy.
Best of all, they’re adaptable. You can swap the chocolate chips for chopped nuts, dried fruit, or even sprinkles for a festive twist. Kids won’t even notice you’ve tucked in something nutritious with those mashed bananas!
If you’re aiming to make school snacks that satisfy picky eaters and ease your weekday routine, this recipe is the answer.
Chocolate Chip Banana Bars
- Total Time: 35 minutes
- Yield: 16 bars
Description
These Chocolate Chip Banana Bars are the ultimate school snacks—soft, chewy, and packed with melty chocolate chips and ripe bananas. Perfectly sliceable and easy to pack, they’re a sweet solution for lunchboxes, after-school treats, or a homemade alternative to processed snacks.
Ingredients
- 6 tablespoons butter, softened
- 1/3 cup granulated sugar
- 1/3 cup brown sugar
- 1/3 cup vanilla Greek yogurt (or plain)
- 2 teaspoons baking powder
- ½ teaspoon salt
- 1 large egg
- 1 cup mashed ripe banana (about 3 bananas)
- 1 teaspoon vanilla extract
- 2 cups all-purpose flour
- 1 cup milk chocolate chips (plus more for topping)
Instructions
- Preheat and Prepare Pan: Preheat oven to 350°F. Spray a 9×9-inch pan with cooking spray or line with parchment paper.
- Cream the Wet Ingredients: In a bowl, beat together butter, both sugars, yogurt, baking powder, and salt until creamy—about 2 minutes.
- Add Banana, Egg & Vanilla: Mix in the mashed banana, egg, and vanilla until smooth.
- Stir in Dry Ingredients: Add flour and chocolate chips. Mix on low until just combined.
- Spread Batter: Drop batter into prepared pan and spread evenly. Sprinkle extra chocolate chips on top if desired.
- Bake: Bake for 22–30 minutes, or until a toothpick in the center comes out clean.
- Cool & Slice: Let bars cool in the pan for 1 hour before cutting into squares. Enjoy as grab-and-go school snacks!
Notes
Store leftovers in an airtight container at room temperature for up to 3 days, or freeze slices for up to 2 months. These bars also work great with mini chocolate chips or added walnuts (if school-safe).
- Prep Time: 10 minutes
- Cook Time: 25 minutes
- Category: Lunch
- Method: Baking
- Cuisine: American
Ingredient Overview
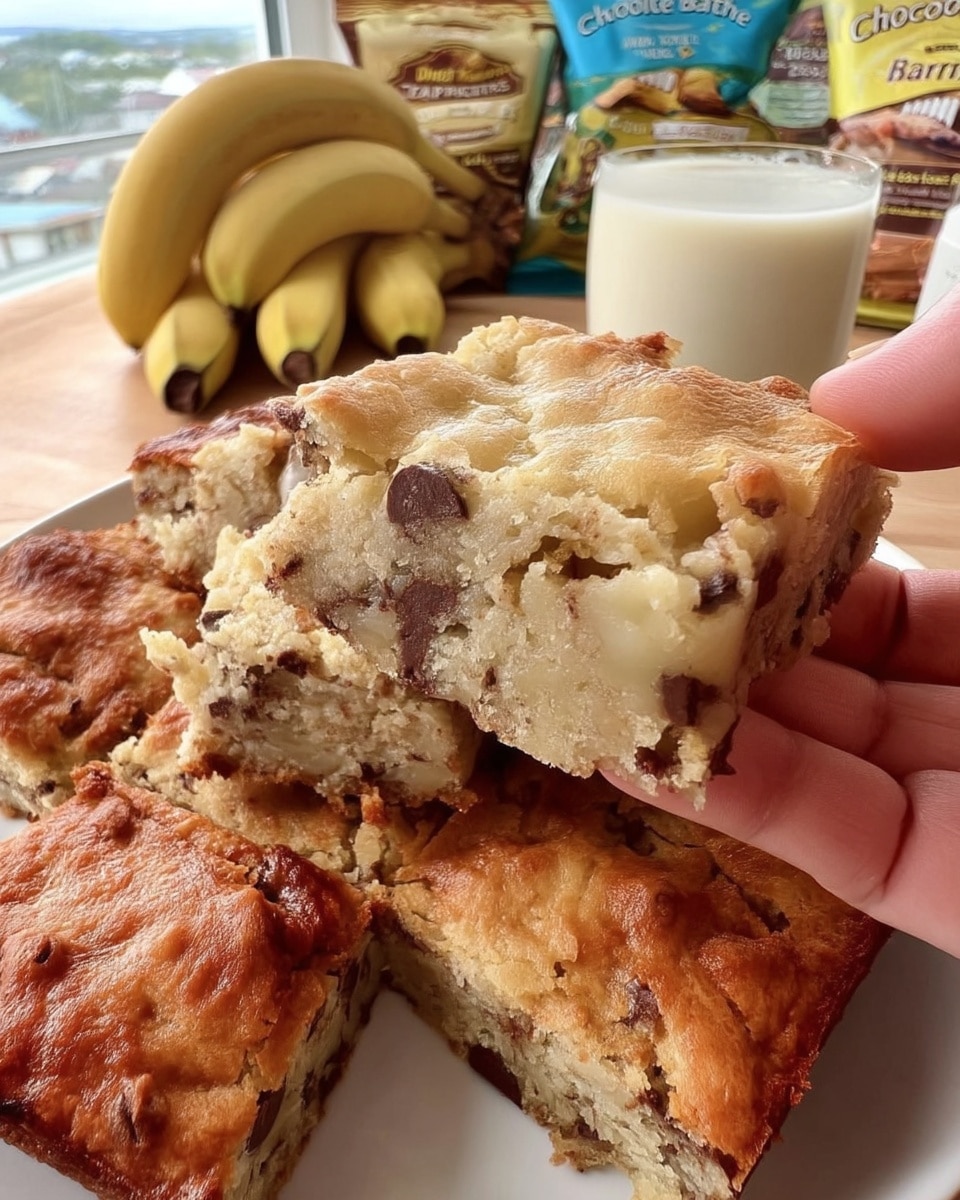
These chocolate chip banana bars are a warm hug in snack form—lightly sweet, soft, and studded with melty chocolate chips. Each bite feels like a reward, making them a go-to for your back-to-school snack game.
-
Bananas: Overripe is best! They add moisture and natural sweetness while making the bars extra tender.
-
Butter: Softened butter brings richness and that irresistible bakery-style texture.
-
Brown Sugar & Granulated Sugar: A duo that deepens the flavor and helps create chewy edges.
-
Vanilla Greek Yogurt: Adds a subtle tang and creamy body. Plain works fine too.
-
Egg: Just one, but it helps bind everything together perfectly.
-
Baking Powder & Salt: To give the bars lift and balance out the sweetness.
-
All-Purpose Flour: Keeps the texture light and soft without making them cakey.
-
Milk Chocolate Chips: Sweet, creamy, and kid-approved. Sprinkle a few extra on top for that classic coffeehouse look.
Quick tip: Spray the back of a spoon with cooking spray to smooth the batter into your pan with ease—it makes cleanup a breeze too.
Step-by-step Instructions
Step 1: Preheat and Prep Your Pan
Start by preheating your oven to 350°F. Line a 9×9-inch baking dish with parchment paper or lightly coat it with cooking spray. This makes it easy to lift out the bars and keeps cleanup simple—ideal for busy mornings and batch-making school snacks.
Step 2: Cream the Wet Ingredients
In a mixing bowl, add the softened butter, granulated sugar, brown sugar, Greek yogurt, baking powder, and salt. Use a hand mixer or stand mixer and beat on medium speed for about 2 minutes. The mixture may look curdled at first—don’t worry, that’s totally normal. Keep going until it becomes smooth and creamy.
Step 3: Add Egg, Banana & Vanilla
Crack in the egg, pour in the vanilla extract, and stir in the mashed bananas. Beat again until everything is evenly combined. This is where those ripe bananas begin to shine, adding moisture and natural sweetness to your school snacks.
Step 4: Mix in the Flour and Chocolate Chips
Reduce your mixer to low and gradually add in the flour. Once the flour disappears, stir in the chocolate chips. The batter will be thick—think banana bread meets cookie dough. You can add a handful of mini chips on top for that bakery-style finish.
Tip: Fold gently to avoid overmixing and keep the bars soft and tender.
Step 5: Spread and Bake
Scoop the batter into your prepared baking dish. Drop spoonfuls all around, then spread it out evenly with the back of a greased spoon or spatula. Bake for 22–30 minutes. The bars should puff up, pull slightly away from the sides, and a toothpick in the center should come out clean or with a few moist crumbs.
Step 6: Cool and Slice
Let the bars cool in the pan for about 1 hour. This helps them firm up and slice cleanly—important for packing neat little squares of school snacks into lunchboxes. If you’re impatient (like me), go ahead and enjoy one warm with melty chocolate chips!
Now that your dish is coming together beautifully, let’s explore some pro tips and creative variations!
Pro Tips
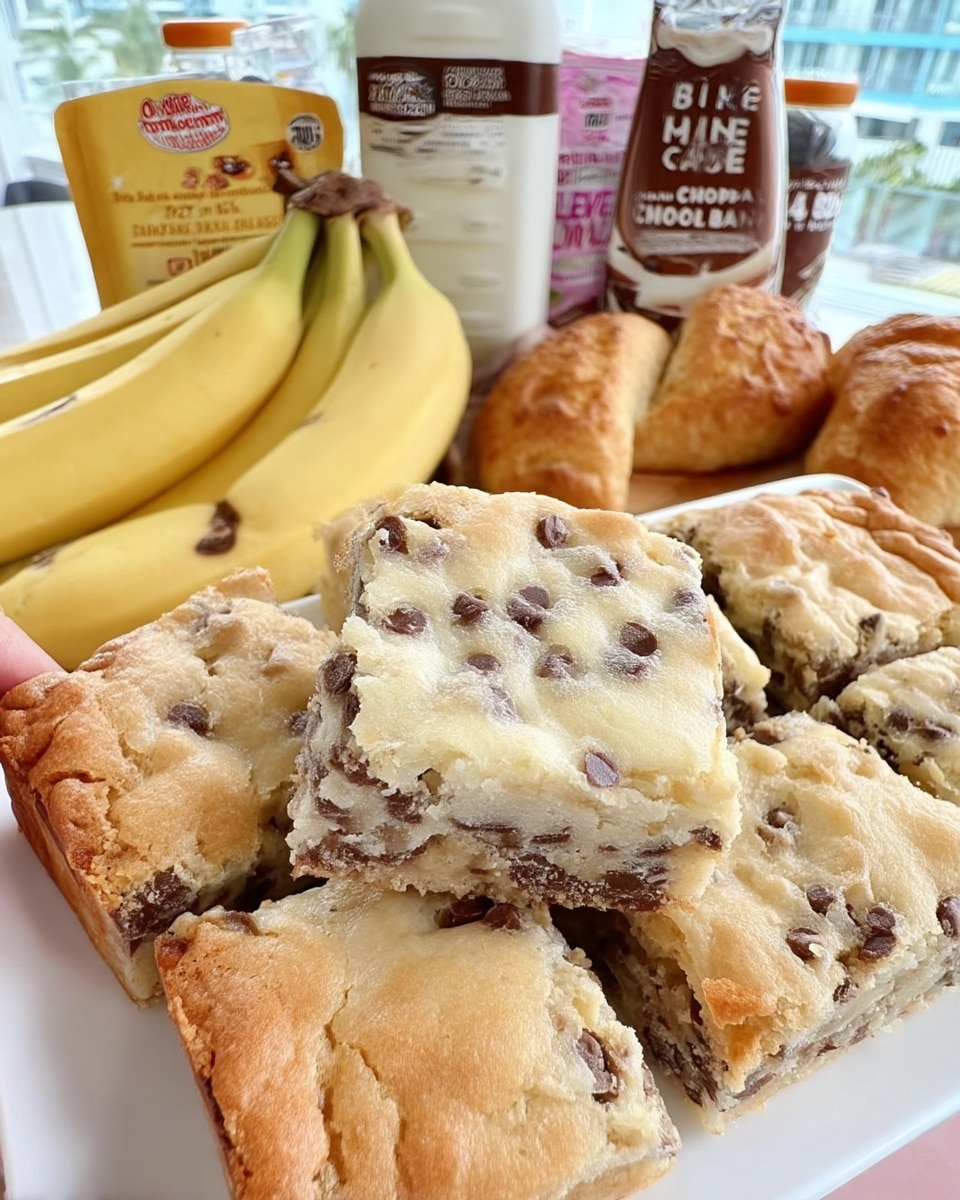
For the best school snacks texture, make sure your bananas are extra ripe—those with deep brown spots on the peel work magic in baked goods. They mash smoother and create natural sweetness without needing extra sugar.
Spray your spoon or spatula with nonstick spray before spreading the batter into the pan. It’ll prevent sticking and make smoothing it into the corners much easier. I do this every time I make treats like these or even when prepping my favorite after school snacks.
Use parchment paper to line your pan for the cleanest, most even slices. You can lift the entire batch out in one piece and cut tidy squares without losing a single crumb—essential when prepping multiple school snacks for the week.
Store your cooled bars in an airtight container at room temperature for up to 3 days, or freeze them in a single layer for up to 2 months. They thaw beautifully in lunchboxes by lunchtime—soft, sweet, and just as satisfying.
Want a little extra nutrition? Mix in a tablespoon of ground flaxseed or chia seeds. The kids won’t even notice, and it adds a gentle boost to their mid-morning school snacks.
Variations
Swap the chocolate chips with mini M&M’s or colorful sprinkles for a fun twist your kids will beg for again and again. These treats turn into cheerful school snacks worthy of a bake sale or class party.
Make them gluten-free by using a 1:1 gluten-free flour blend. I’ve tested it with great results—it still bakes up soft and golden. You can even check out our healthy school snacks roundup for more allergy-friendly ideas.
Try nutty add-ins like chopped walnuts or pecans if your school allows them. They bring a lovely crunch and pair beautifully with banana. Otherwise, pumpkin seeds or sunflower seeds are great nut-free options.
You can easily reduce the sugar slightly if your bananas are super sweet. I’ve made these with just ¼ cup brown sugar and ¼ cup white sugar and still got thumbs-up all around at our playdate picnic.
Want more fruit? Toss in a handful of dried cranberries or raisins for a touch of tartness. It turns everyday school snacks into a fruity surprise that’s still perfectly sweet.
Frequently Asked Questions
What is the best snack for school?
The best snack for school is one that’s portable, nutritious, and mess-free—like these Chocolate Chip Banana Bars. They hold up well in lunchboxes and keep kids satisfied through the afternoon.
What are the best snacks for a school trip?
Look for snacks that don’t melt, crumble, or require refrigeration. These banana bars are sturdy and travel-friendly, making them perfect for backpack adventures or field trip fuel.
What are good snacks for kids’ lunchboxes?
Soft-baked bars, fruit slices, crackers with cheese, and mini muffins are all winners. These banana bars are among our favorite homemade school snacks because they combine fruit, carbs, and a bit of sweet.
What are popular kids’ snacks?
Granola bars, yogurt tubes, trail mix, and anything with chocolate chips! That’s why these bars are always a hit—they feel like a treat but sneak in real fruit goodness.
Can I double the recipe for a big batch?
Yes! Just bake in a 9×13 pan and increase the time to 30–35 minutes. You’ll have plenty to stock your freezer, fill lunchboxes, or share with the neighborhood crew.
Serving Suggestions
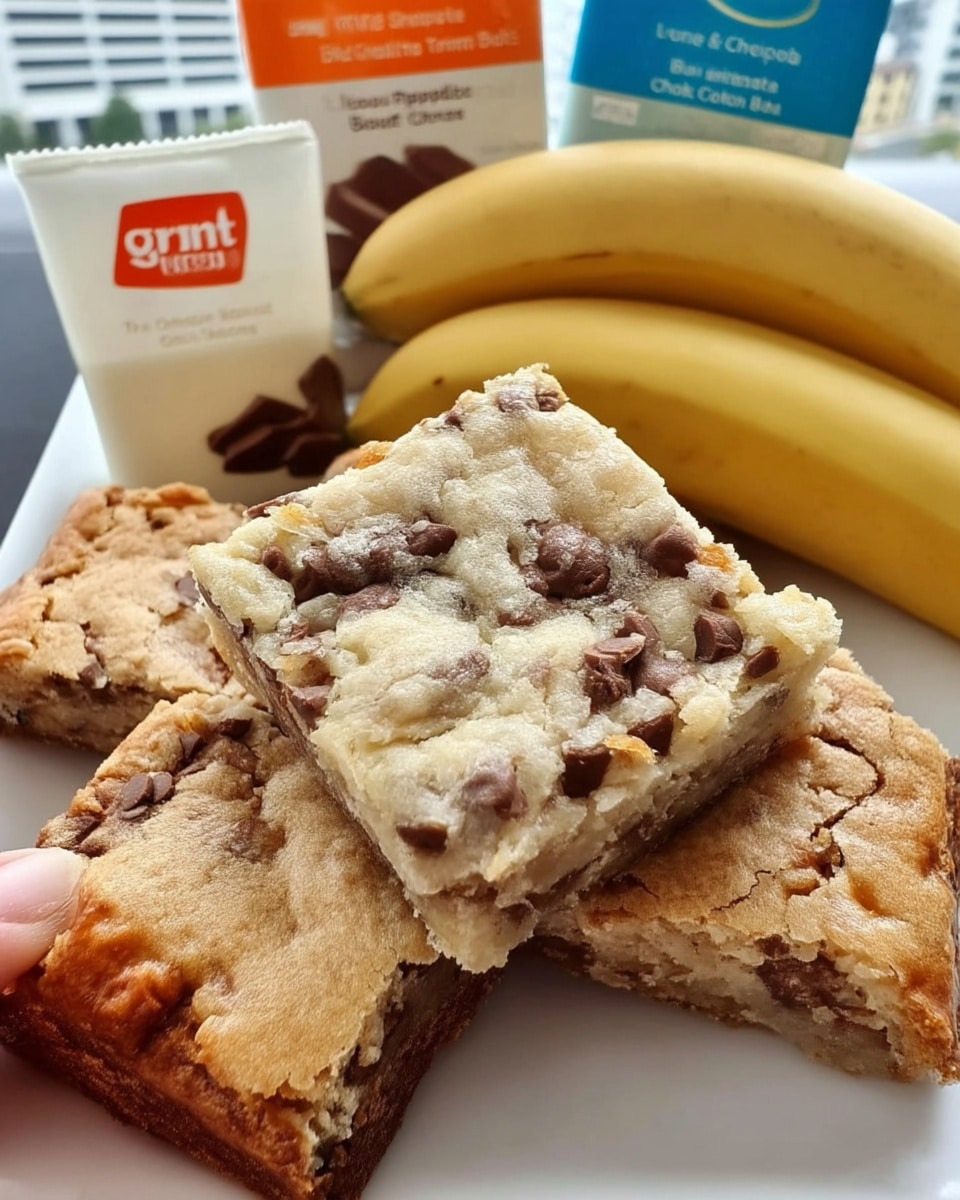
These Chocolate Chip Banana Bars shine brightest when paired with simple, kid-approved sides. Try serving them with fresh apple slices, a cheese stick, and a thermos of milk for a balanced lunchbox. For after-school cravings, they go wonderfully with a small smoothie or cold glass of oat milk. I love slipping one into my daughter’s backpack alongside a tiny note—it turns her snack break into something special.
If you’re planning a playdate or classroom party, slice the bars into smaller bite-sized squares. They stack neatly on a tray and vanish quickly. For more ideas like these, you’ll love the variety of easy bakes in our healthy after school snacks collection.
Conclusion
There’s something comforting about a soft, sweet square of banana goodness tucked into a lunchbox. These bars deliver that warm, home-baked love with every bite. They’re simple, dependable, and delightfully delicious—everything school snacks should be. Whether you’re a busy parent packing for your little ones or just want a cozy treat for yourself, this recipe offers the joy of sharing food with care and intention.
Give these bars a try this week and see how fast they disappear! I’d love to hear how your family enjoys them—leave a comment below and let me know your favorite twist or swap. And if you snap a photo of your lunchbox or after-school spread, tag us on social media so we can celebrate your kitchen wins together.
From my kitchen to yours — happy cooking!

1 thought on “School Snacks”