The first time I baked these mini chocolate cakes in my mom’s old tin loaf pans, the scent alone took me right back to Christmas Eve in our Alabama farmhouse. She’d line the windowsill with cooling cakes, steam fogging up the glass, while Bing Crosby played on the radio. There’s just something magical about baking in mini loaf pans — they feel like tiny packages of comfort, perfect for sharing (or sneaking a few bites before dinner).
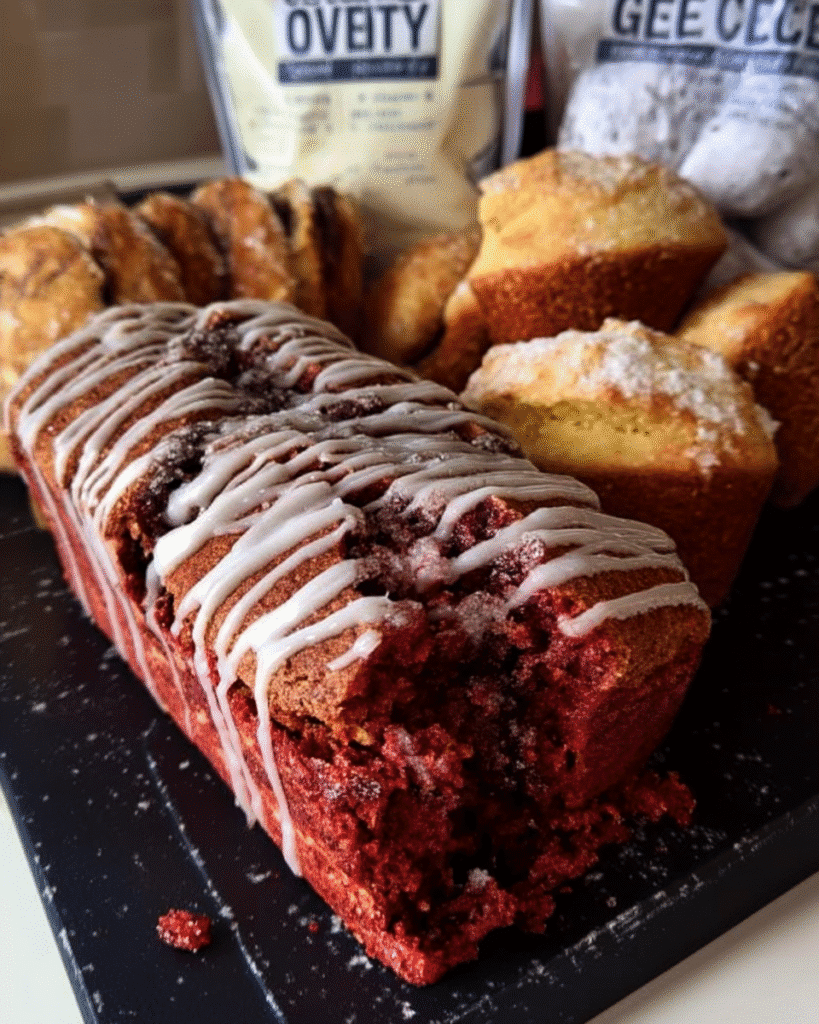
This particular recipe became a tradition the year my youngest begged for “red Christmas cake with snow on top.” And that’s what this is — moist chocolate cake, rich from sour cream and bittersweet chocolate, topped with a snowy vanilla glaze and shimmering sprinkles. Whether you’re gifting them or enjoying one by the tree with a cup of coffee, these mini loaf pan recipes truly bring joy in every slice.
Let’s make memories one bite at a time.
Why You’ll Love This Recipe
These festive little loaves are full of deep chocolate flavor and cheerful color, thanks to red food coloring and cocoa richness. They’re adorable and giftable — perfect for cookie swaps, teacher gifts, or dressing up a dessert table.
You’ll appreciate how quick and simple the steps are. This is a forgiving, easy-to-follow bake even if you’re not usually a baker. And it all comes together in under an hour — 15 minutes prep and around 35 minutes bake time.
The sour cream makes the texture soft and tender, while mini chocolate chips give you melty bites in every slice. I love that these freeze well too — so you can bake ahead for busy holiday weeks.
And if you’re searching for mini loaf pan recipes Christmas-ready and freezer-friendly, this one’s going to become a new favorite in your collection.
That glossy icing and delicate sprinkles finish everything off with a festive touch your guests will adore.
Print
Mini Loaf Pan Recipes
- Total Time: 50 minutes
- Yield: 3 mini loaves
- Diet: Vegetarian
Description
These chocolate mini loaf pan cakes are rich, moist, and perfect for gifting. Festive red color, chocolate chips, and a snowy glaze make them the star of your holiday baking.
Ingredients
- 2 ounces bittersweet chocolate baking chocolate (2 squares)
- ½ cup water
- 1 cup brown sugar (firmly packed – light)
- ½ cup butter (softened)
- 2 large eggs
- 1 tsp vanilla extract
- ½ cup sour cream
- 1 tbsp red food color
- 1½ cups all-purpose flour
- 1 tsp baking soda
- ½ tsp salt
- ⅓ cup mini chocolate chips
- 1 cup confectioners sugar
- 2–3 tbsp milk
- Snowflake sprinkles (optional)
Instructions
- Preheat oven to 350°F and prepare 3 mini loaf pans.
- Melt chocolate with water on low heat, then cool.
- Whisk brown sugar, butter, eggs, and vanilla until creamy.
- Mix in chocolate mixture and sour cream.
- Add red food color.
- Stir in flour, baking soda, and salt.
- Fold in mini chocolate chips.
- Spoon into pans and bake 35–40 minutes.
- Cool completely on a wire rack.
- Mix sugar and milk to make icing, drizzle over loaves, and decorate.
Notes
These freeze beautifully — just add icing after thawing. For a peppermint twist, swap vanilla with mint extract.
- Prep Time: 15 minutes
- Cook Time: 35 minutes
- Category: Desserts
- Method: Baking
- Cuisine: American
Ingredient Overview
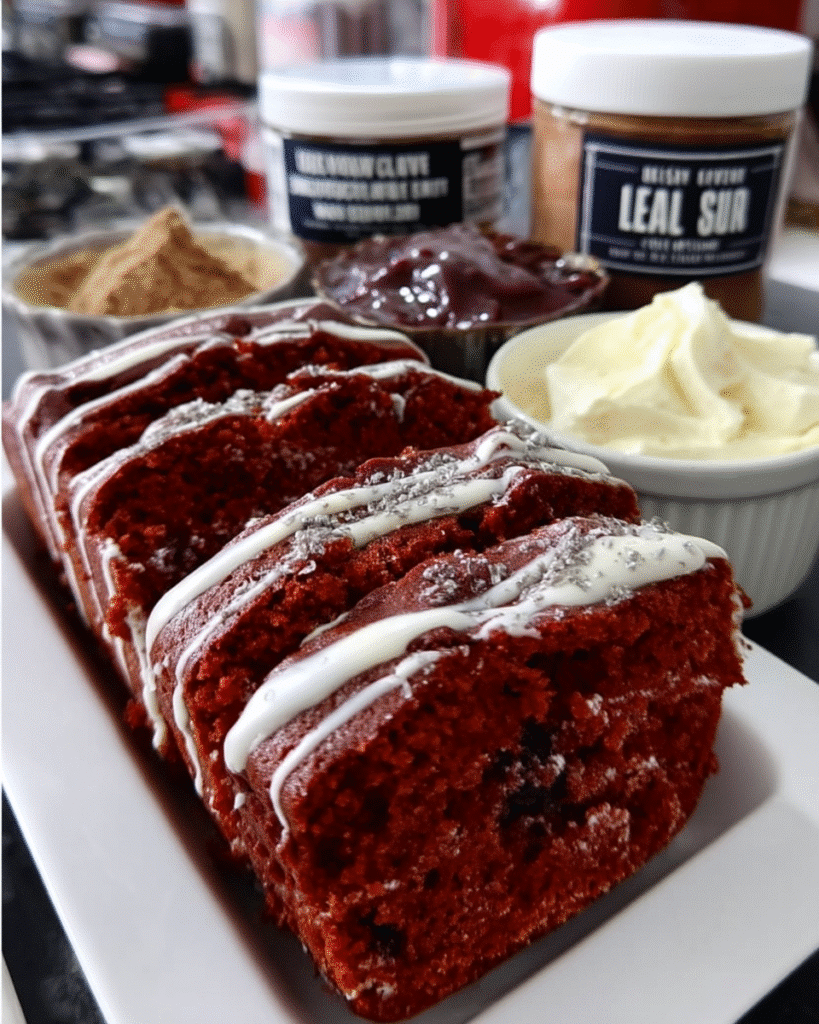
These mini loaf pan cakes are rich, velvety, and full of chocolatey goodness, with just enough festive flair to feel special.
- Bittersweet Chocolate (2 oz): Gives a deep, intense cocoa flavor. Melt it gently with water to start your batter with richness.
- Brown Sugar (1 cup, packed): Adds warmth and moisture — light brown works best here.
- Butter (½ cup): Soften it well so it blends smoothly into your batter for tender texture.
- Eggs (2 large): Help bind the cake and give it lightness. Room temperature is ideal.
- Vanilla Extract (1 tsp): Boosts and balances all the chocolate notes.
- Sour Cream (½ cup): The secret to moist, soft cakes that don’t dry out.
- Red Food Coloring (1 tbsp): Brings festive holiday color to these mini loaves.
- All-Purpose Flour (1½ cups): Standard pantry flour creates a sturdy but tender crumb.
- Baking Soda (1 tsp) + Salt (½ tsp): Lifts the loaf while enhancing chocolate flavor.
- Mini Chocolate Chips (⅓ cup): Scatter throughout the batter for melt-in-your-mouth bites.
Optional Food Styling Tip: Drizzle the icing generously and let it run slightly down the sides. Then sprinkle with snowflake sprinkles just before serving — it adds whimsy and a snowy sparkle!
Step-by-Step Instructions
Step 1: Preheat and Prep Your Pans
Start by preheating your oven to 350°F. Lightly spray the bottoms only of your three mini loaf pans with baking spray. This ensures an easy release without over-crisping the edges.
Step 2: Melt the Chocolate
In a small saucepan, combine the bittersweet chocolate and water over low heat. Stir gently until the chocolate melts into a glossy, smooth mixture. Set aside to cool slightly — warm, not hot, is the goal here.
Step 3: Mix the Wet Ingredients
In a large mixing bowl, whisk together the brown sugar, softened butter, eggs, and vanilla extract. Whisk until the mixture is creamy and smooth, with no streaks of yolk or sugar crystals left.
Step 4: Add the Chocolate and Sour Cream
Pour in the melted chocolate mixture and the sour cream. Whisk again until the batter looks rich, shiny, and evenly blended.
Step 5: Bring on the Red
Stir in the red food coloring. You’ll notice the batter turn a deep, festive shade — perfect for holiday-style mini loaf pan recipes that look as good as they taste.
Step 6: Fold in the Dry Ingredients
Add in the flour, baking soda, and salt. Use a spatula or wooden spoon to fold gently until just combined — don’t overmix, or the cakes can turn dense.
Step 7: Chocolate Chip Time
Gently fold in the mini chocolate chips, distributing them throughout the batter. Tip: Coat chips lightly in flour before adding if you want to prevent them from sinking.
Step 8: Fill and Bake
Evenly spoon the batter into your prepared pans — each should be about two-thirds full. Bake for 35 to 40 minutes, or until a toothpick inserted in the center comes out mostly clean with just a few moist crumbs.
Step 9: Cool Completely
Place the pans on a wire rack and let the loaves cool completely before removing. This step helps set the structure and makes glazing much easier.
Step 10: Ice and Decorate
In a small bowl, mix the confectioner’s sugar with milk, a tablespoon at a time, until your glaze reaches a drizzling consistency. Spoon over cooled cakes, then finish with snowflake sprinkles for a festive flourish. These mini loaf pan recipes make beautiful holiday gifts — just wrap in wax paper and tie with twine!
Now that your dish is coming together beautifully, let’s explore some pro tips and creative variations!
Pro Tips
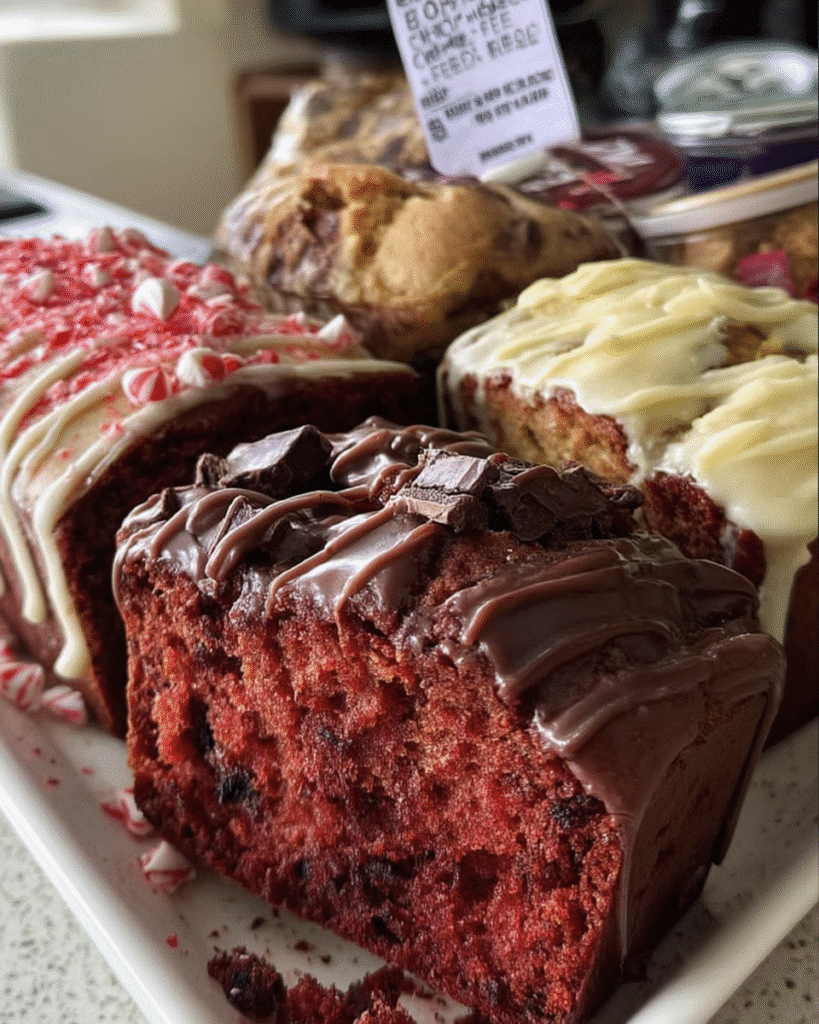
When baking mini loaf pan recipes, don’t forget that cooling is crucial. Let the cakes rest in their pans for at least 15 minutes before removing — this helps them set and avoids cracking.
Use a piping bag or a zip-top bag with a snipped corner for cleaner icing drizzle. It’s a simple trick that gives your cakes that bakery-style polish without any fuss.
If you’re gifting these, line each mini loaf with parchment before baking. It makes wrapping them later so much easier — and adds a charming, rustic touch.
Measure your flour correctly — spoon it into your measuring cup and level it off. Too much flour makes cakes dry, and nobody wants that during the holidays!
Store loaves in an airtight container for up to 4 days at room temperature. Or wrap them tightly and freeze for up to 3 months. Just thaw and glaze the day you serve or gift them.
For even more baking joy, you might love trying our buttermilk banana bread or the ever-popular pumpkin chocolate chip loaf — both also work beautifully as mini loaf pan recipes.
Variations
Want to make these cakes extra indulgent? Add a swirl of cream cheese filling in the center before baking. It adds richness and makes every slice feel like dessert and frosting in one.
Swap the red food coloring with peppermint extract for a mint-chocolate holiday spin. Pair with crushed candy canes on top instead of snowflake sprinkles.
If you need a gluten-free option, replace the flour with a 1:1 gluten-free baking blend. Just check that your chocolate and chips are certified gluten-free too.
For a brunch-friendly version, skip the icing and sprinkle cinnamon sugar on top before baking. It turns your cake into a crisp-topped breakfast loaf that’s hard to resist.
And if you’re after mini loaf pan recipes Christmas-ready but a little lighter, consider using Greek yogurt in place of sour cream and reducing the sugar by ¼ cup. It’s still moist, just with a gentler sweetness.
Frequently Asked Questions
How do you adjust baking time for mini loaf pans?
Mini loaves usually bake faster than standard loaves. For most cakes, 35 to 40 minutes at 350°F is perfect. Always do the toothpick test — insert it in the center, and if it comes out with just a few moist crumbs, it’s ready.
What are mini loaf pans used for?
They’re ideal for small-batch baking, giftable desserts, and meal prep. From banana bread to meatloaf, you can make almost any loaf recipe in mini pans for charming, portioned servings.
How much batter to put in mini loaf pans?
Fill each mini loaf pan about two-thirds full. That gives the batter enough room to rise without overflowing. Most pans hold roughly 1 to 1.25 cups of batter each.
What is the difference in baking time for mini loaf pans?
Compared to a standard loaf (which may bake for 55–70 minutes), mini loaf pan recipes bake in nearly half the time. That makes them perfect for busy holiday baking when oven space and time are tight.
Still curious? Feel free to leave a comment or question — I’m always happy to help from my kitchen to yours!
Serving Suggestions
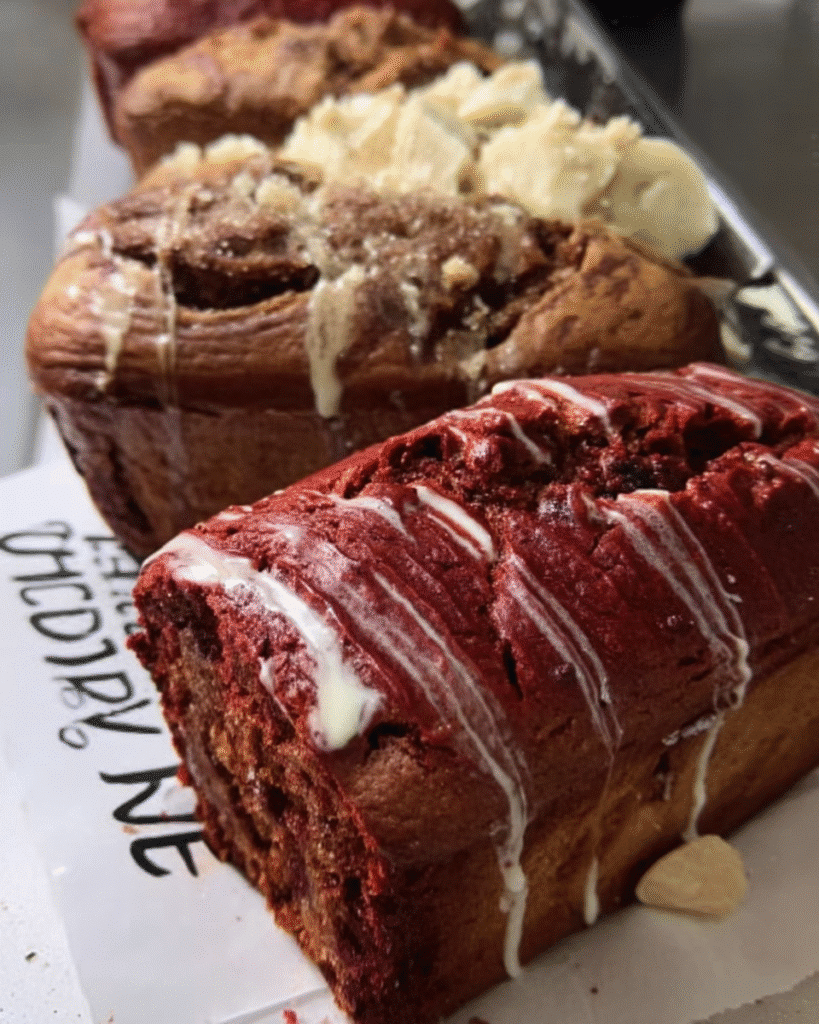
These sweet little chocolate loaves are a dream alongside a mug of peppermint cocoa or a pot of dark roast coffee. I love serving them on a holiday brunch board with gingerbread pancakes or warm cinnamon apple muffins. For dinner parties, slice and plate with a dollop of whipped cream or a drizzle of raspberry sauce for a stunning (but easy) dessert. Because mini loaf pan recipes are individually sized, they shine on buffet tables and make excellent party favors or stocking stuffers.
Conclusion
There’s something so joyful about baking mini cakes — especially when they’re wrapped in sparkle and shared with people you love. Whether you’re tucking one into a gift basket or savoring a slice with your morning coffee, this recipe brings that just-right blend of comfort and celebration. And once you’ve made them, I promise they’ll become a staple in your holiday rotation — they certainly did in mine.
Give these little cakes a try this season — and let me know how they turn out! Leave a comment below, or tag me on social media @pailseyrecipes05 with your creations. I absolutely love seeing how your kitchens come to life with a little cocoa, cheer, and creativity.
From my kitchen to yours — happy cooking!


1 thought on “Mini Loaf Pan Recipes”